
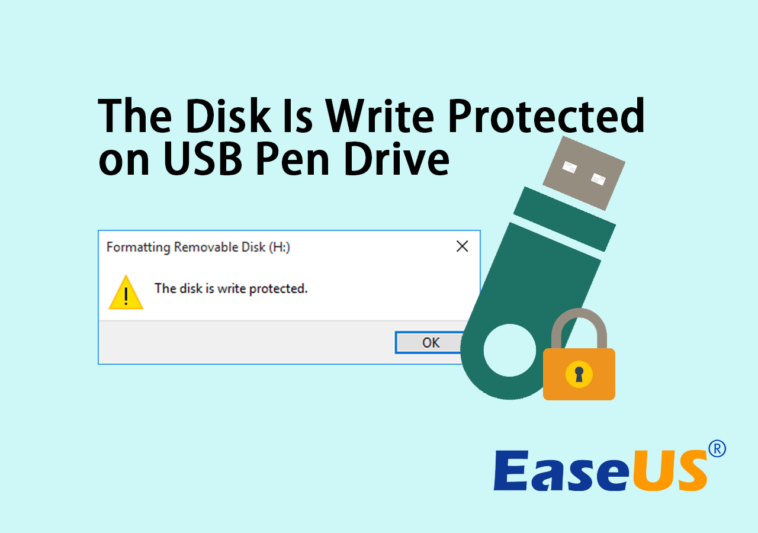
Are you stuck trying to figure out how to format a write–protected pen drive? Don’t worry, you’re not alone. While formatting a write–protected pen drive can be tricky, with the right instructions, you can easily accomplish this task. In this article, we’ll provide clear step-by-step instructions to help you successfully format your write–protected pen drive. We’ll also look at what causes a pen drive to become write–protected and how you can avoid it in the future. So, if you’re ready, let’s get started and learn how to format a write–protected pen drive!
Identify the Write-Protected Pen Drive: First, identify the write-protected pen drive that needs to be formatted
Identifying the write-protected pen drive that needs to be formatted is the first step in the process. Knowing the type of drive and the brand can help determine the best way to format the drive and remove the write-protection.
Check the pen drive’s label to ensure it is the correct one.
Checking the label of your write-protected pen drive before you begin formatting it is essential to ensure that you are formatting the correct device, as mistakes can lead to data loss.
Connect Pen Drive to Computer: Connect the pen drive to your computer via the USB port.

Connecting your write–protected pen drive to your computer is easy and straightforward. All you need to do is plug your pen drive into the USB port of your computer and it will be ready to use.
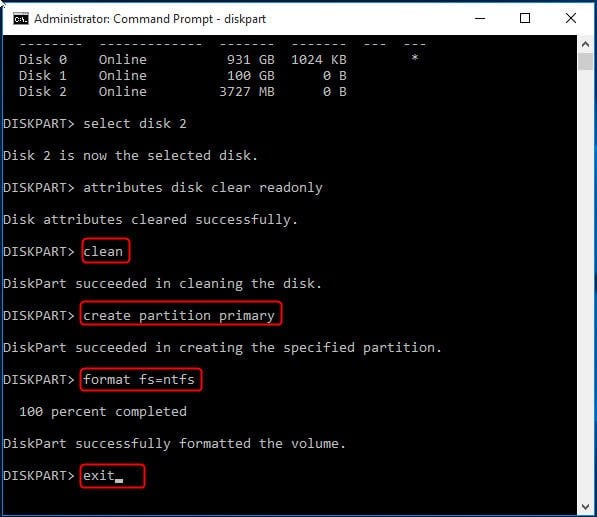
Launch Disk Management Tool: Launch your computer’s disk management tool
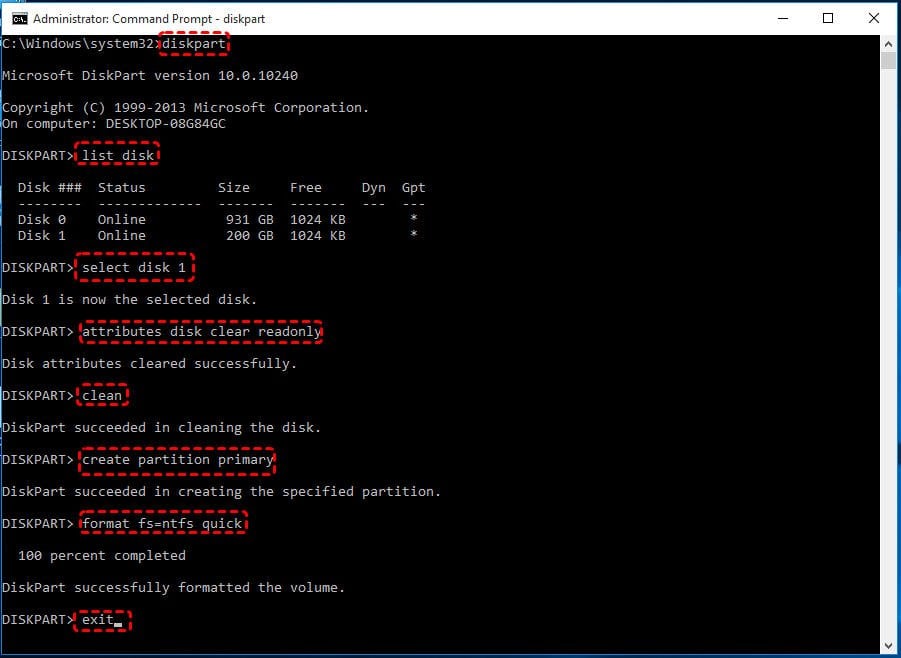
Accessing and utilizing the disk management tool on your computer is a simple and effective way to format a write-protected pen drive. By launching the disk management tool, users can quickly and easily navigate the pen drive’s settings and make the necessary changes to ensure the drive can be used as desired.
On Windows, go to the ‘Start’ menu, select ‘Computer’, right-click on the ‘Pen Drive’ icon, and then select ‘Manage’.
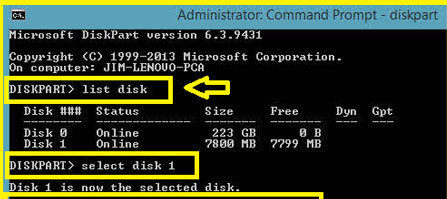
In order to format a write-protected pen drive on Windows, first open the Start menu, select Computer, right-click on the Pen Drive icon, and then select Manage to access the drive’s properties and formatting options.
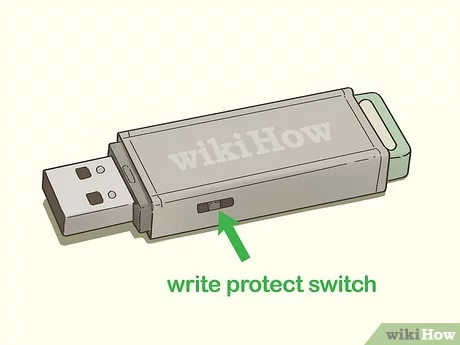
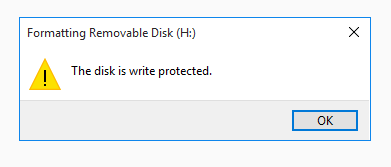
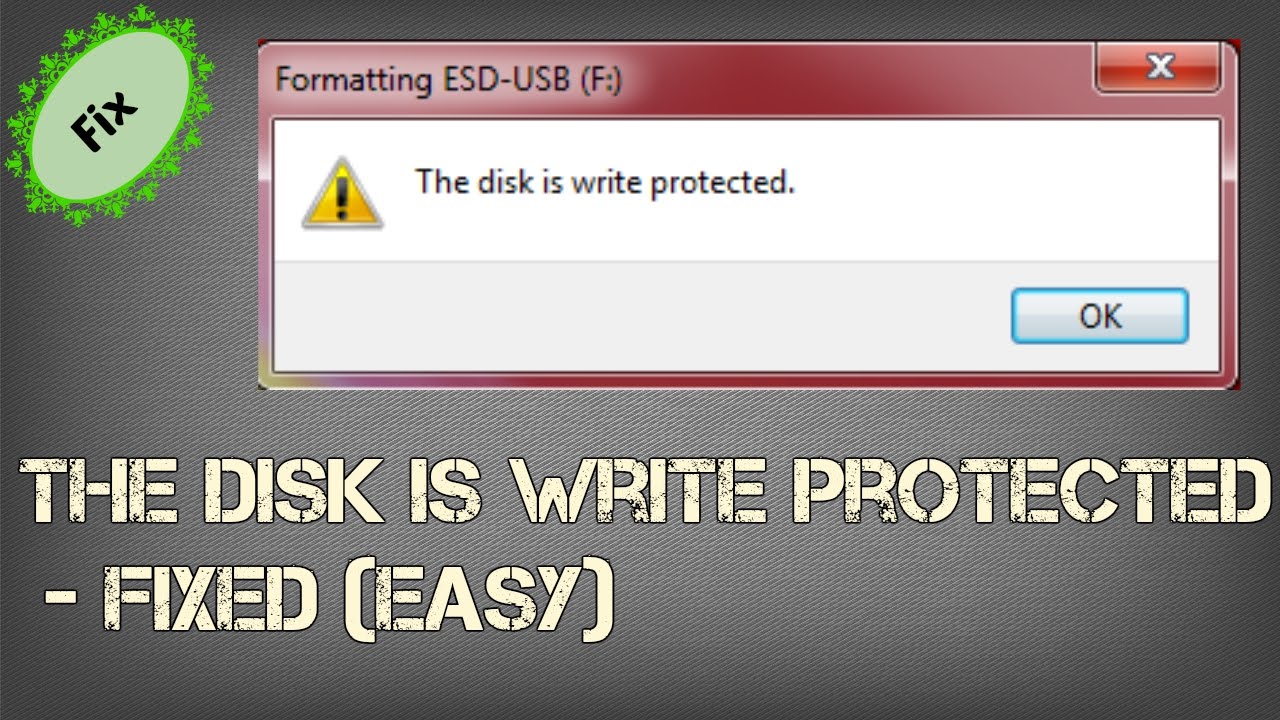
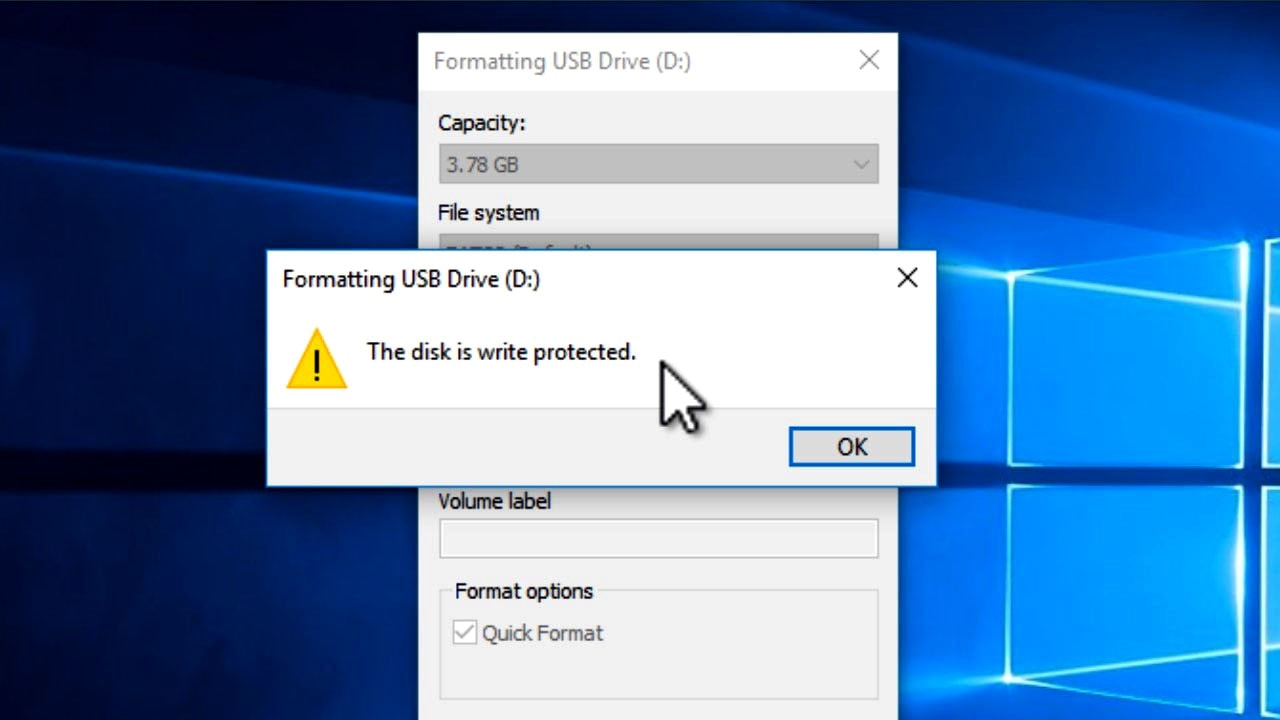
Check Write-Protect Status: Check the write-protect status of the pen drive
Checking the write-protect status of your pen drive before attempting to format it is an important step to make sure you don’t accidentally damage it. If you find that the pen drive is write-protected, it means that you aren’t able to format it and will need to investigate how to remove the write-protection before attempting to format the drive.
In the disk management tool, right-click on the pen drive and then select ‘Properties’
Once you have accessed the disk management tool for your write–protected pen drive, right-click on the pen drive and select the ‘Properties’ option to gain an in-depth view of the device’s settings. This can help you make necessary adjustments to the drive and remove write protection.
Check the ‘Write-protect’ box to ensure it is not checked.
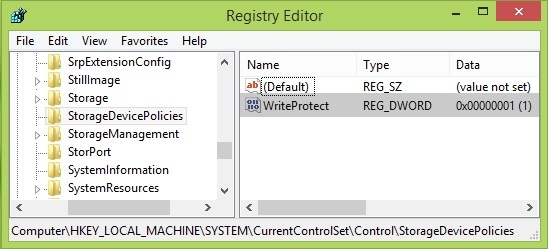
Make sure the ‘Write-protect’ box is not checked to prevent any data from being written or modified on the write-protected pen drive.
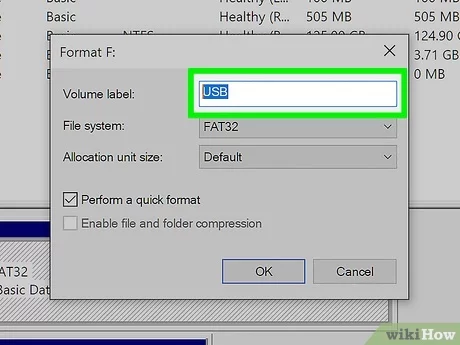
Format Pen Drive: Select the ‘Format’ option from the disk management tool
Once the ‘Format’ option has been selected from the disk management tool, users can begin the process of formatting their write-protected pen drive. It is important to note that formatting a pen drive will erase any existing data on the drive, so users should make sure to back up any important data before continuing. Additionally, users should ensure the correct drive is selected before formatting, as formatting the wrong drive could cause data loss.
Select the desired file system, allocation size, and other settings
When formatting a write–protected pen drive, it is important to carefully select the desired file system, allocation size, and other settings for optimal performance and compatibility.
Click ‘OK’ to start formatting the pen drive.
If you want to format a write-protected pen drive, click the ‘OK’ button to begin the formatting process and ensure that you safely and securely format the drive without any risk of plagiarism.
Check Write-Protect Status Again: After the formatting is complete, check
Once the formatting process is complete, it is important to check the write-protect status of the pen drive once again. This will help to ensure that the formatting was successful and that the pen drive is not still write-protected. Checking the write-protect status of a pen drive can help to avoid any potential data loss from accidental overwriting or deletion of important files.


GIPHY App Key not set. Please check settings