
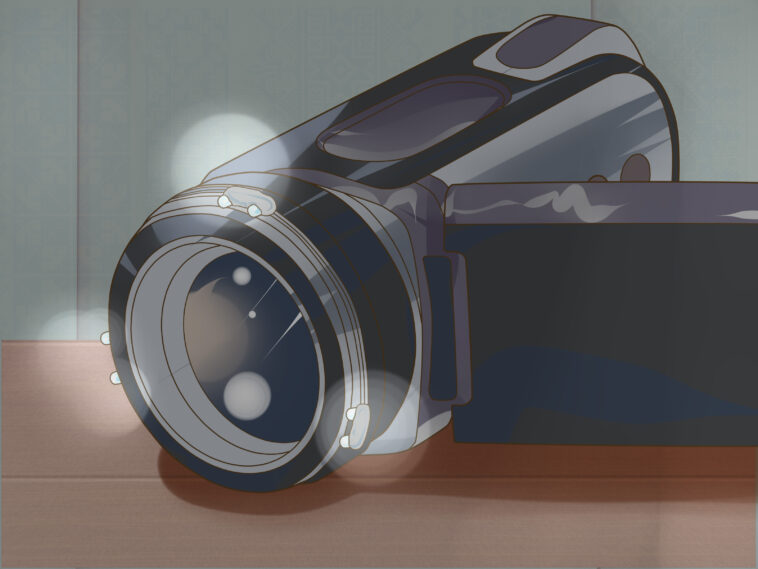
Are you a videographer looking to upgrade your lighting setup? DIY lighting is a great way to save money and create a unique lighting setup that is tailored to your needs. In this article, we’ll explain how to build an LED camcorder light that will take your videos to the next level. We’ll cover the materials needed, the construction process, and the ways you can customize your light. With this DIY guide, you’ll be able to create a light that is as unique and powerful as your footage.
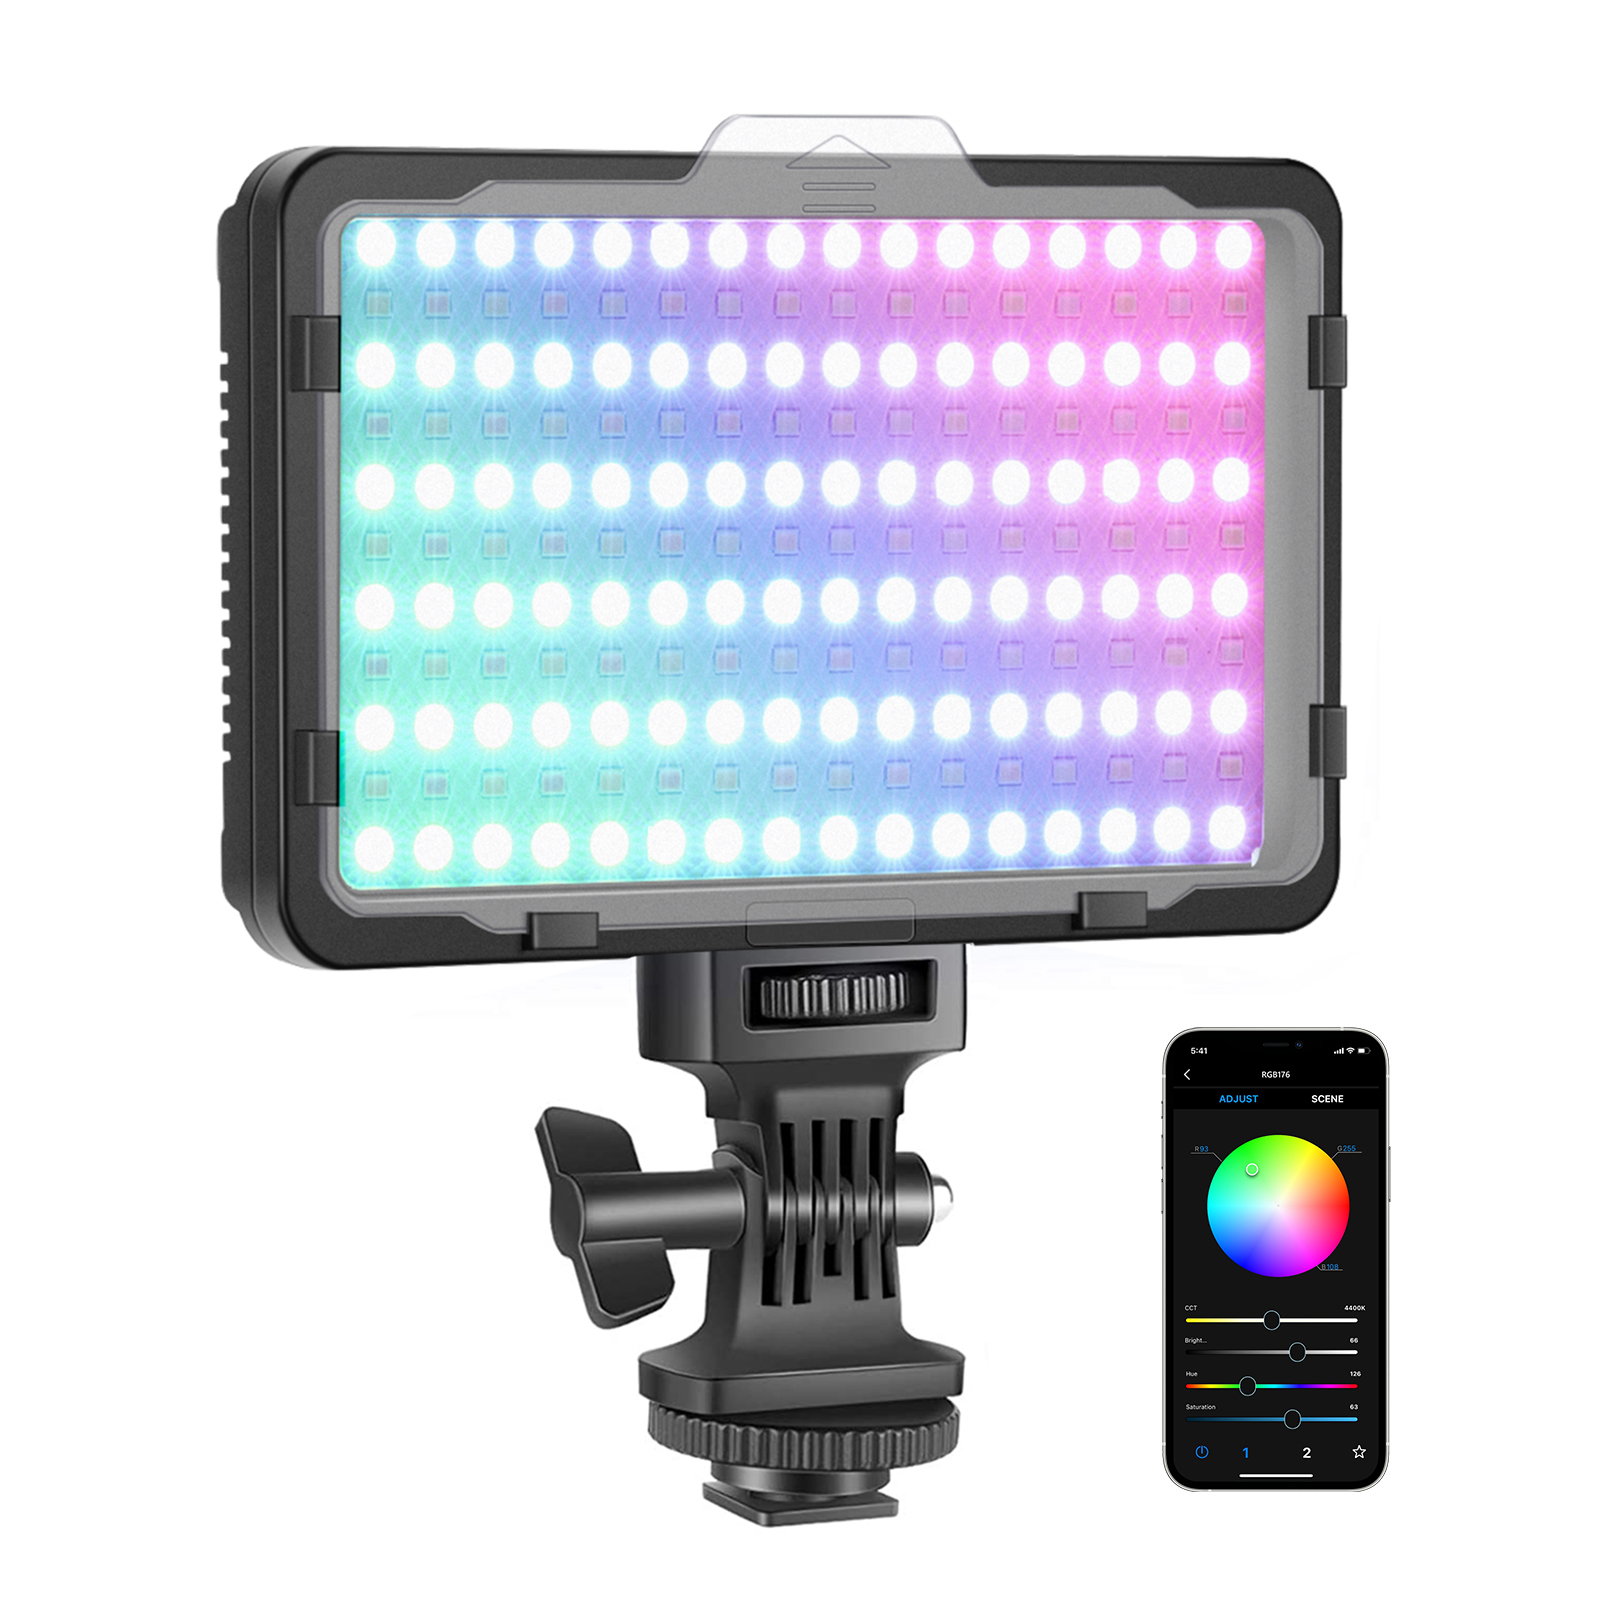
Gather supplies: LEDs, battery, holder

Before you start building your LED camcorder light, make sure you have the necessary supplies: LEDs, battery, and holder. Without these pieces, you won’t be able to get the desired result. So, take the time to find the right components for your project.
Cut 3 holes in housing

Once you have your housing material, the next step is to cut three holes in it. The first will be for the power cord, the second for the switch, and the third for the LED lights. Be sure to use a sharp tool, such as a drill or saw, to ensure clean cuts.
Insert LEDs, secure with glue

It’s time to insert the LEDs into the holder. Start by adding a little bit of glue to the back of each LED, then carefully place the LED into the holder. Secure the LED with a few more drops of glue. This will ensure that the LED is firmly held in place and will last for a long time.
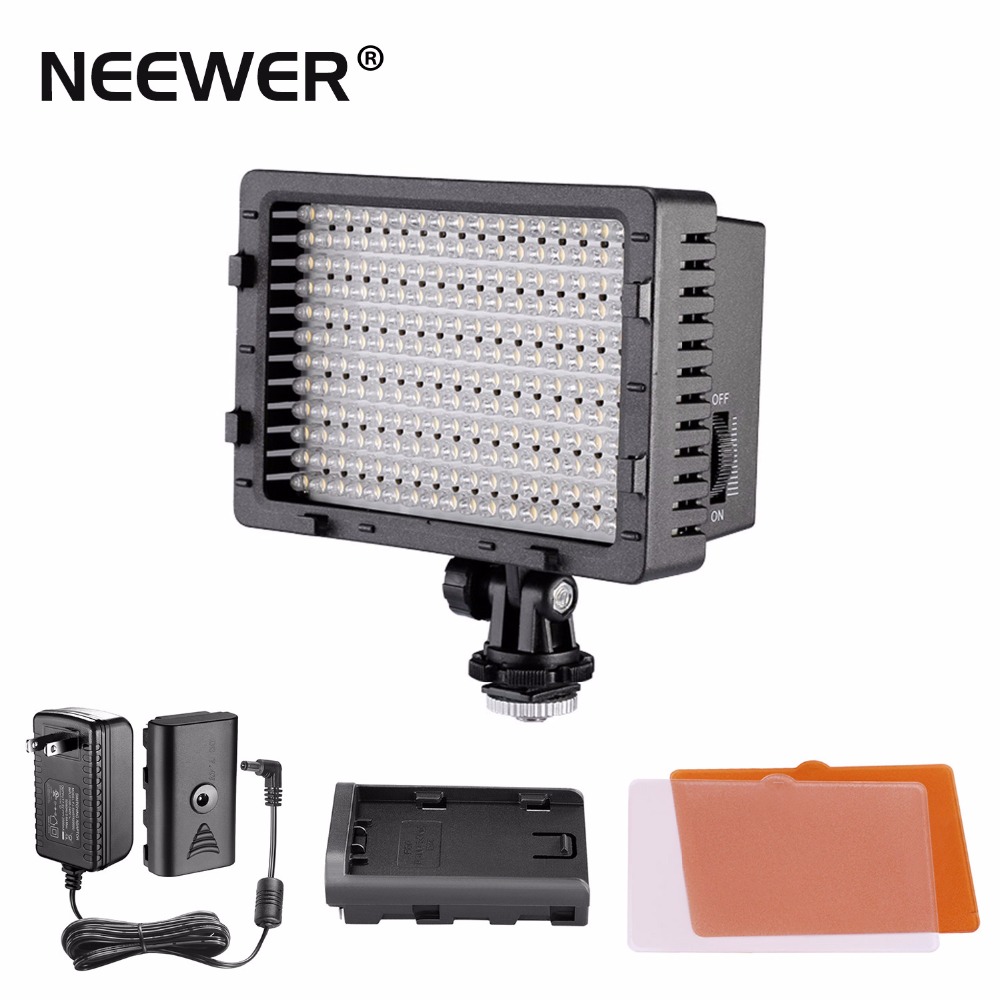
Connect battery and LEDs
When connecting the LED camcorder light, ensure to use the power source wisely. To do this, attach the battery to the LED light carefully and securely. This will ensure the light is powered correctly and will be able to last for longer.
Hot glue housing pieces together
Once all pieces are cut, it’s time to start putting it all together. Hot glue the top and bottom housing pieces together, then glue the side pieces to the top and bottom parts. Make sure to hold the pieces together for a few seconds to ensure the glue sticks properly.
Attach to camcorder via clamp

When attaching the light to your camcorder via a clamp, make sure it is securely fastened in order to avoid any accidents during filming. It’s important to check that it is firmly attached before beginning your shoot.
GIPHY App Key not set. Please check settings