

Are you looking for a way to give your camcorder lighting a boost? Do you want to learn how to create a simple and inexpensive LED camcorder light? Building your own LED camcorder light can be a great way to improve the quality of your videos without investing a lot of time or money. In this article, you’ll learn step-by-step how to build your own LED camcorder light using simple materials and tools. With the right supplies, you’ll be able to create a high-quality light that can dramatically improve the quality of your videos. So let’s get started on building your own LED camcorder light!
Gather the Necessary Components: To begin building an LED camcorder light, you will need to gather all the necessary components
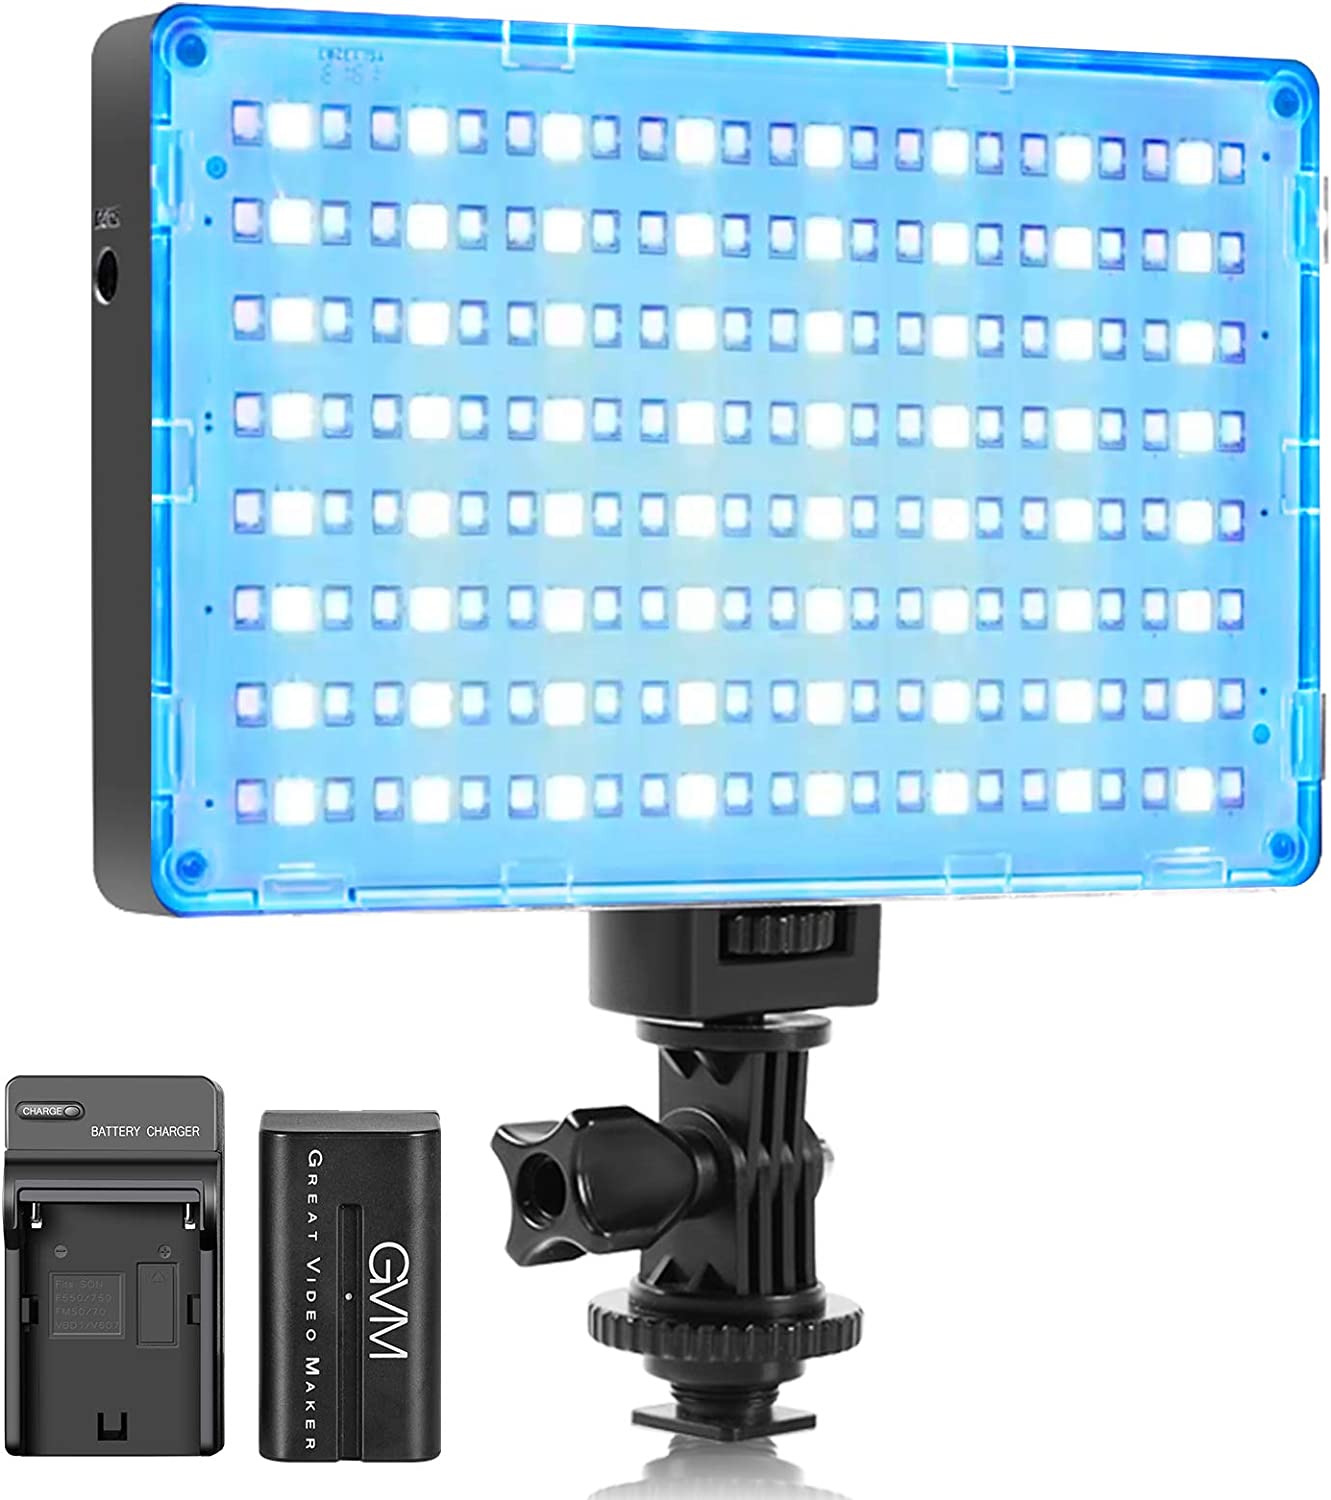
Gathering the components for an LED camcorder light is the first step to creating your own light setup for video recording. To ensure you have all the necessary components for the project, you should make a checklist of items such as LED bulbs, a power supply, mounting hardware, a battery, and a controller. Having a list of components will help you stay organized and make sure you have everything you need for the project.
This includes LEDs, a heat sink, resistors, switch, wires, batteries, and a holder to mount the light
This blog provides an in-depth look at how to build your own LED camcorder light, featuring all the necessary components such as LEDs, a heat sink, resistors, switch, wires, batteries, and a holder to mount the light. Learn how to make your own LED camcorder light with this step-by-step guide!
This article provides an in-depth guide on how to build an LED camcorder light, including a step-by-step overview of the materials and tools needed, as well as tips for maximizing brightness and battery life. Learn how to assemble your own LED camcorder light for improved lighting during filming!
Design the Layout: Once you have all the components, it is time to design the layout for the LED camcorder light
Create a diagram of the LED camcorder light layout and make sure it is properly designed and secured. To ensure the LED light is well-constructed, use durable and quality materials that can withstand the rigors of filming. Additionally, document the LED light’s design and layout to ensure it is easy to replicate.
Think about how each component should be placed in order to ensure proper functionality.

In order to build a professional LED camcorder light, you must properly install the LED modules, secure the heat sink to the housing, connect the power source, and connect the dimmers and control panel to the power source.
Solder the Components: Once the layout is designed, solder the components together
Solder the components together in the designed layout, using a soldering iron and solder wire. Ensure the connections are secure and all wiring is insulated for safety. Take the time to double check all connections, to ensure the LED Camcorder Light performs as expected.
This step requires soldering skills and you should be careful when soldering to avoid any short circuits.
Soldering is an important step when building an LED camcorder light, and care should be taken to ensure that it is done correctly to prevent any short circuits from occurring.
Connect the Wires: After the components are soldered, the next step is to connect the wiring

:Before connecting the wiring, it is important to make sure that the soldering is complete and all components are secured to the circuit board. After that, the wires can be connected following the instructions provided in the user manual, taking care to avoid any short circuits. Once all of the wiring is connected, the LED camcorder light is ready to be tested.
Make sure the wiring is connected correctly to ensure the LED camcorder light will work properly.
To ensure your LED camcorder light works properly, it is essential to make sure all wiring is properly connected. This step-by-step guide will help you successfully build and wire an LED camcorder light for optimal performance.
Test the LED Camcorder Light: Once the wiring is connected, it is time to test the LED camcorder light
Testing the LED camcorder light is an important step to ensure it will work as desired. It is important to check the brightness and color temperature of the light, as well as the power draw and heat output. Once the wiring has been connected, the LED camcorder light should be tested to ensure it functions properly and produces the desired results.
Make sure all the components are connected properly and the light is working properly before moving on to the next step.
Ensuring all components are correctly connected and the LED camcorder light is working properly is essential before proceeding to the next step in building the light.
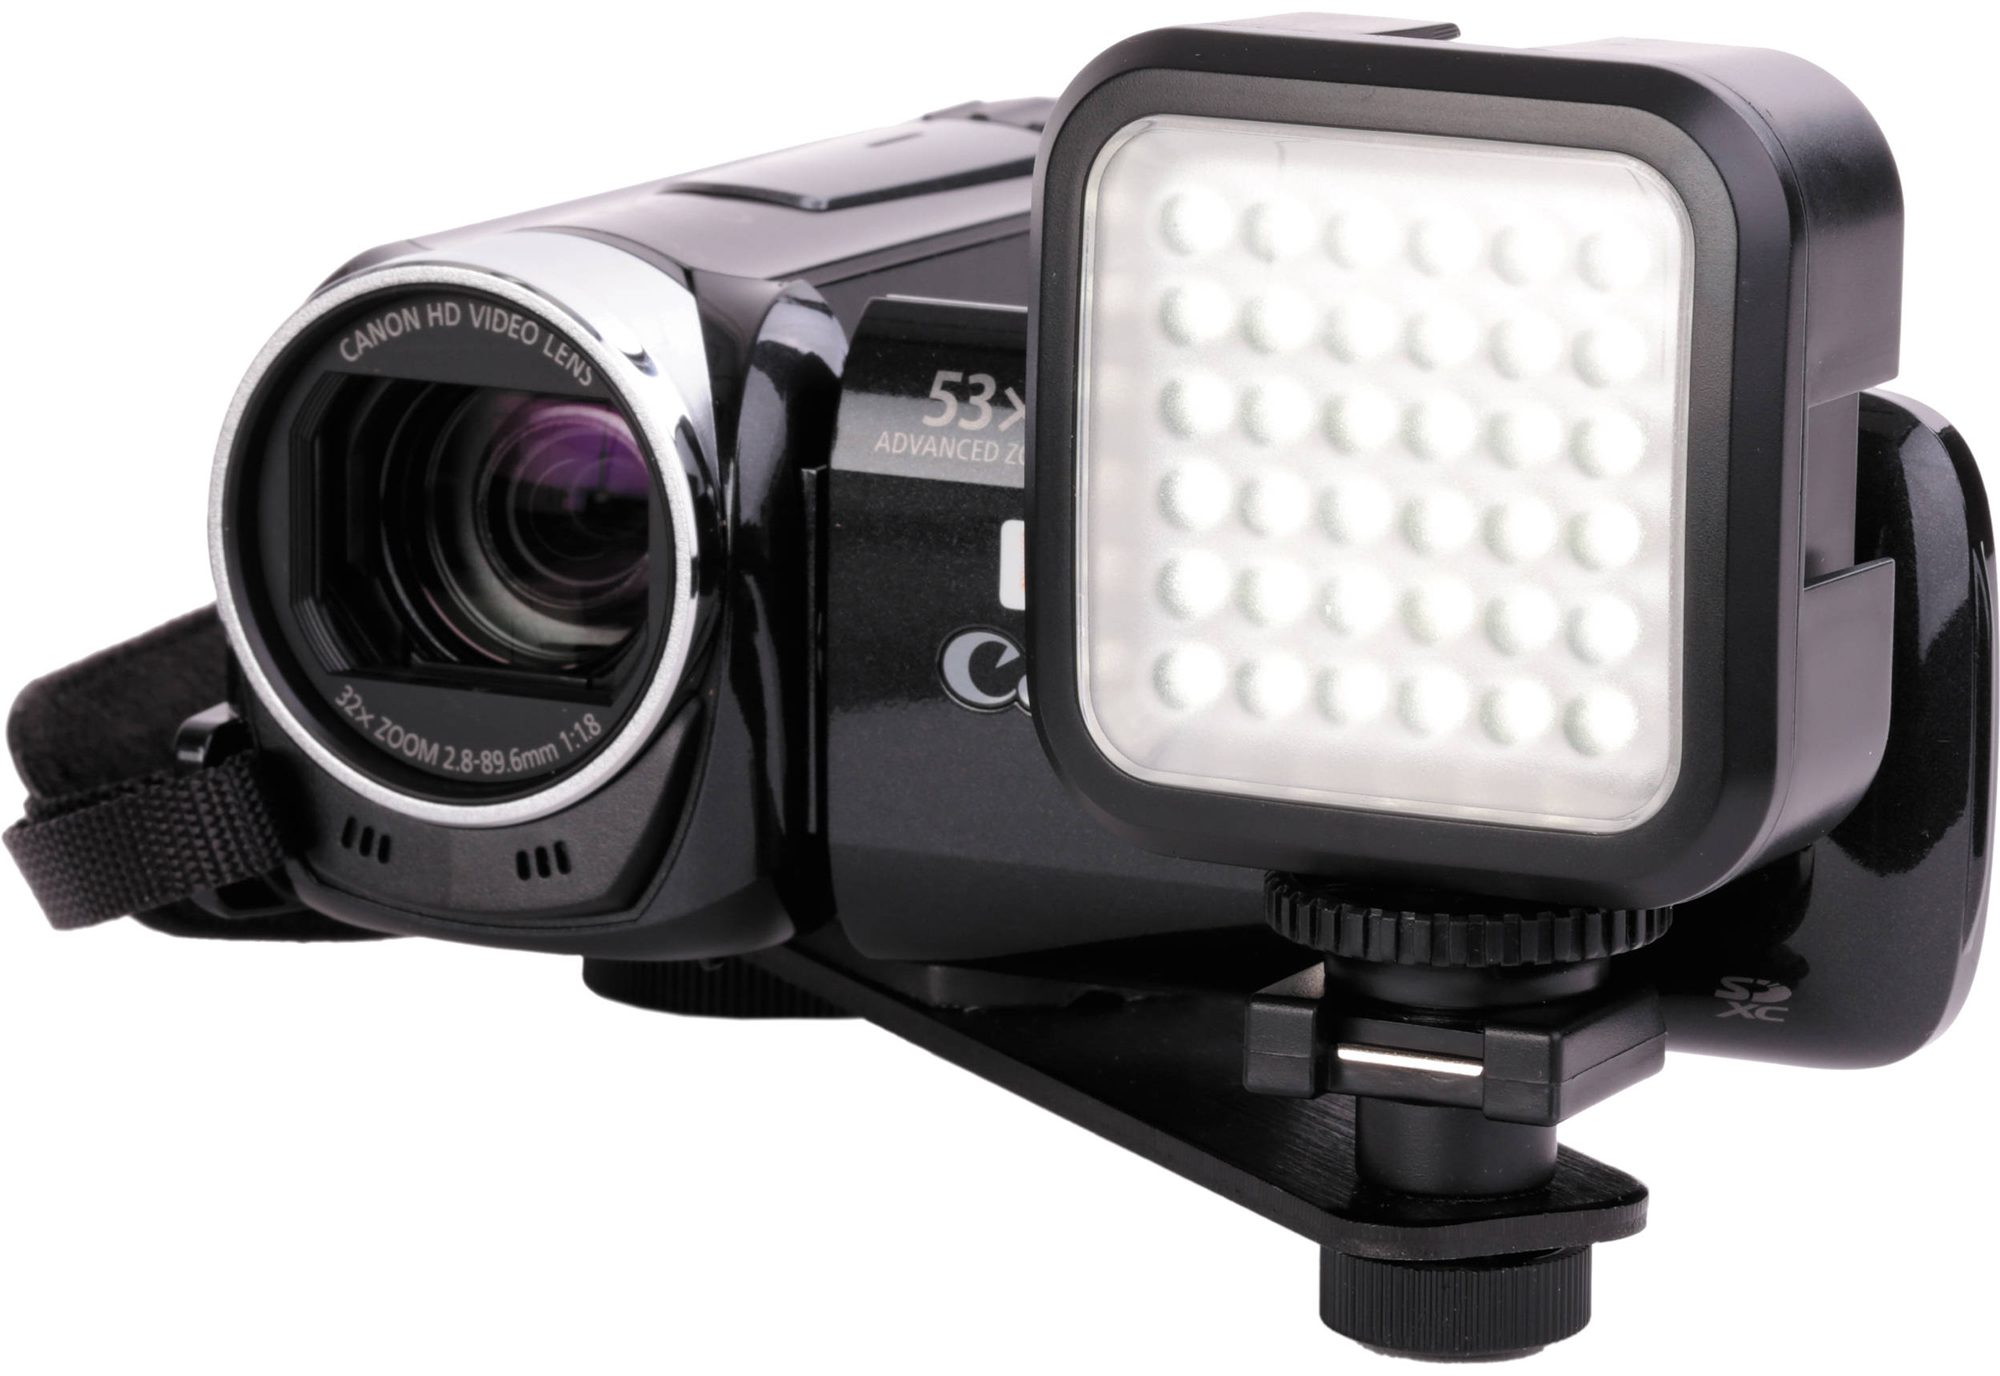
Mount the LED Camcorder Light: After the LED camc

Mount the LED Camcorder Light: After the LED camcorder light is assembled, it needs to be securely mounted to the camera. A sturdy rail clamp is often used to ensure the light is firmly in place. This can be done by attaching the rail clamp directly to the camera, or by attaching a cold shoe adapter to the rail clamp and then attaching the cold shoe adapter to the camera.


GIPHY App Key not set. Please check settings