
If you’re looking to give a presentation at work or school, you’ll need to know how to connect a laptop to a projector. Fortunately, connecting a laptop to a projector is a relatively simple process that only requires a few steps and the right equipment. Here, we’ll discuss how to connect a laptop to a projector, the various types of connectors, and how to troubleshoot if something goes wrong. With this knowledge, you can ensure that your presentation is clear and engaging for the entire audience.
Identify the type of connection available on your laptop
Identifying the type of connection available on your laptop is the first step in connecting a laptop to a projector. You may need a VGA port, a DVI port, a DisplayPort, an HDMI port, or a USB-C port depending on the type of connection the projector requires. Search engine optimized sentence: Learn how to connect your laptop to a projector with our easy-to-follow guide on identifying the type of connection available on your laptop and the required port for the connection.
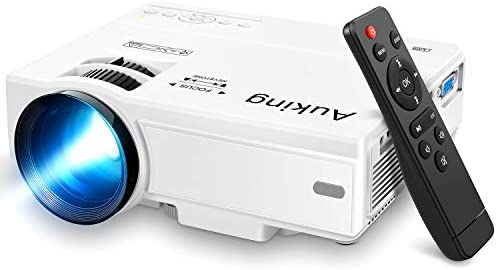
Most modern laptops have an HDMI or VGA port
Connecting a laptop to a projector is easy with the help of the HDMI or VGA ports available on most modern laptops. Configuring projector settings for a laptop is a quick and easy process that can be done in minutes.
If your laptop does not have either of these ports, you may need to purchase an adapter to use a different type of connection
If your laptop does not have an HDMI or VGA port, you may need to purchase an adapter to use a different type of connection for connecting to a projector. Many laptop adapters are available to make the connection between your laptop and projector easier and more efficient.
Connecting a laptop to a projector is a simple and straightforward process that can be achieved in just a few steps. With the right cables and connectors, you can easily connect your laptop to a projector and start viewing your content in a large display format in no time.
Connect the laptop to the projector

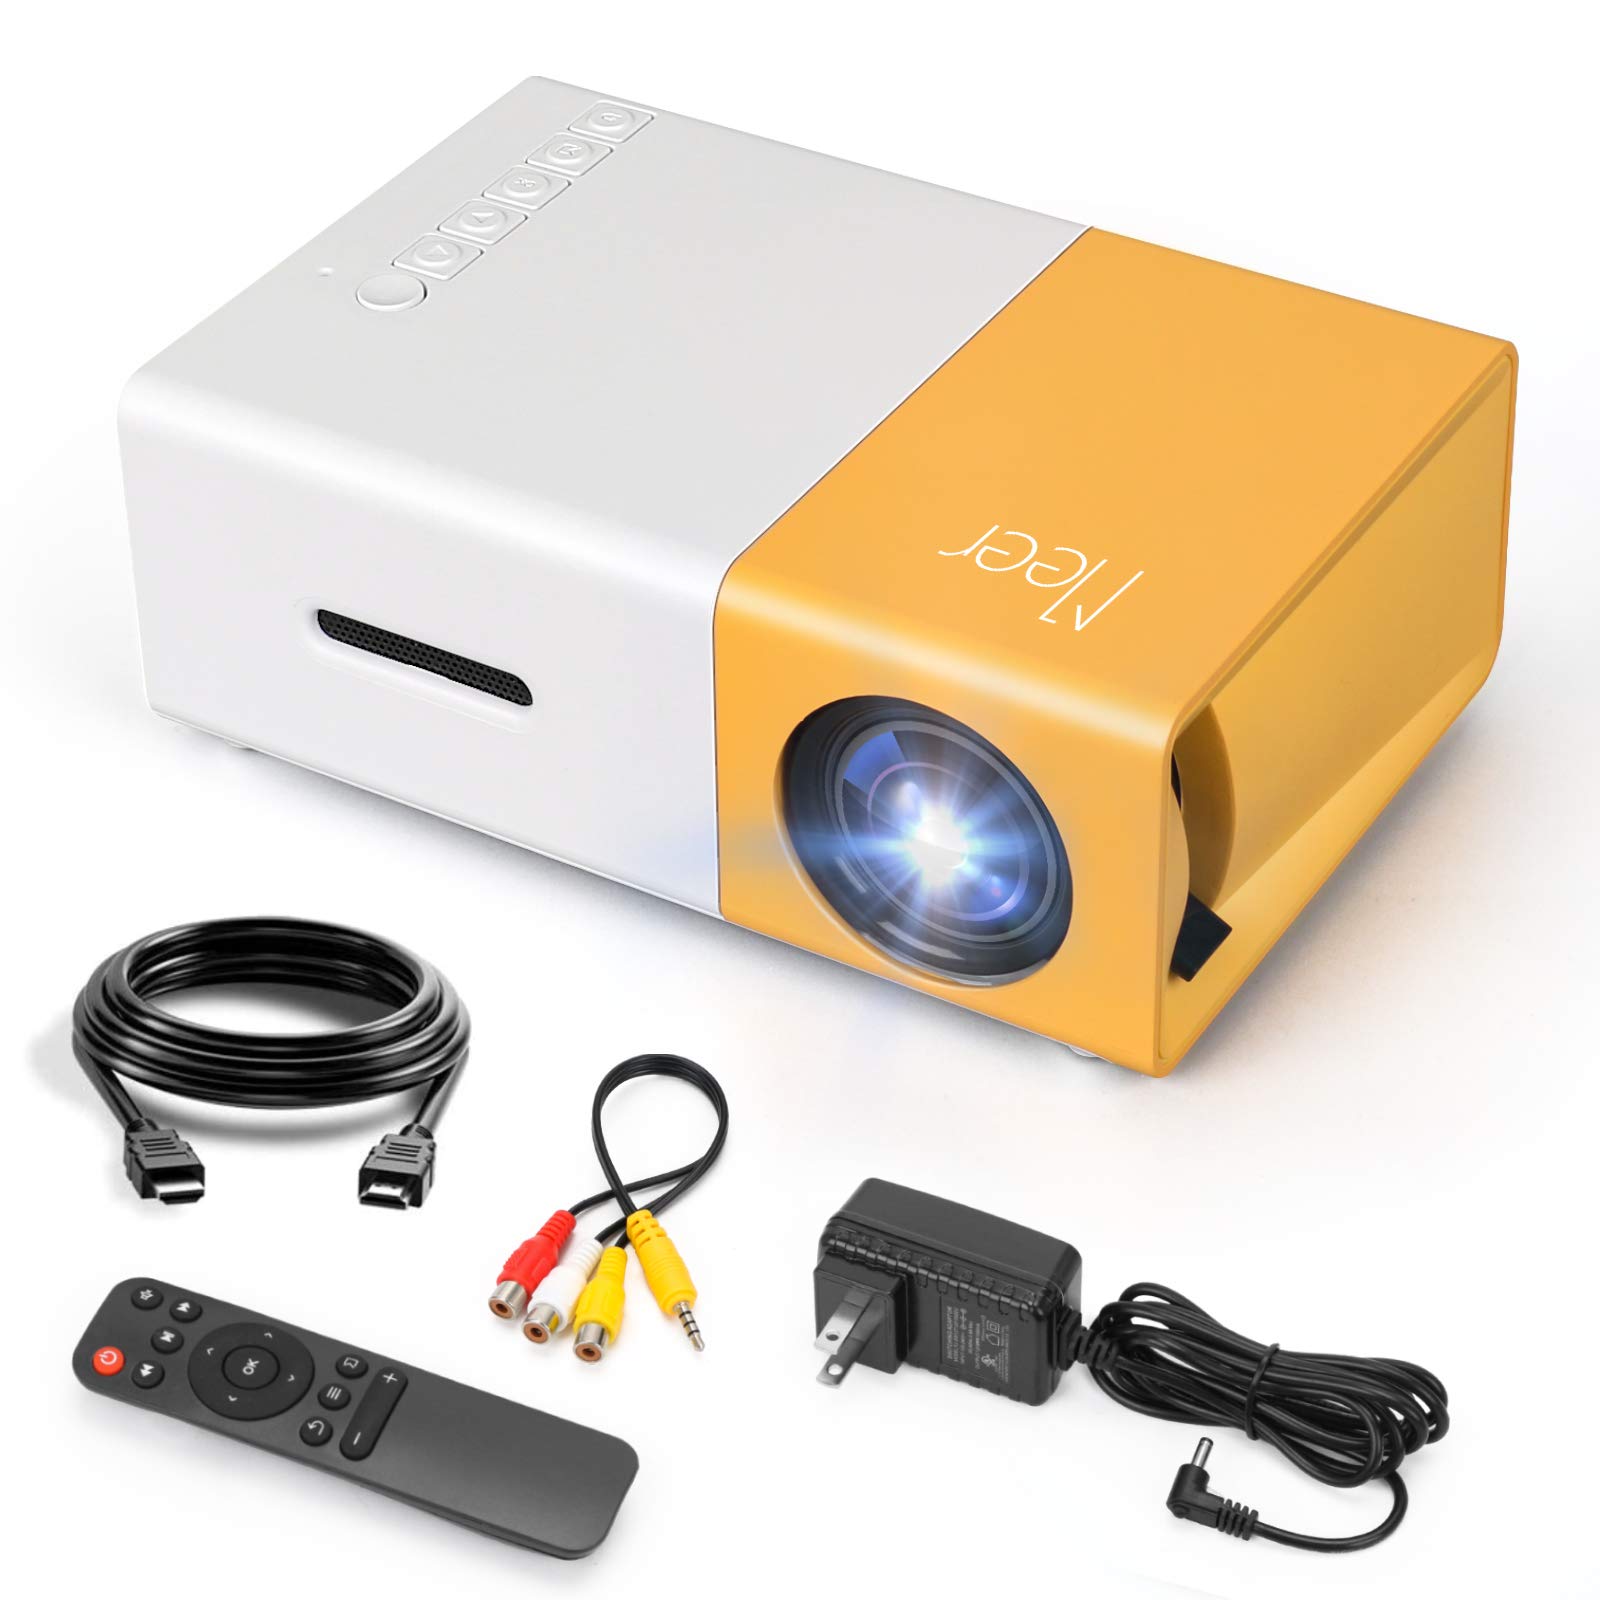
Connecting a laptop to a projector is a relatively straightforward process, as long as you have the right cables and adapters. Depending on the type of laptop and projector you own, you may need an HDMI, VGA, DVI, or Mini DisplayPort cable to connect the two devices. In some cases, you’ll also need an adapter to make the connection. Once the cable and adapter are connected, you’ll need to adjust the projector’s settings to receive the signal from the laptop. Once this is done, the image from the laptop should be projected onto the screen.
Use the appropriate cable to connect the laptop to the projector
Connecting a laptop to a projector can be done quickly and easily with the right cable. To ensure a successful connection, make sure to use the correct cable that is compatible with both the laptop and projector. With the right cable and a few simple steps, users can have their laptop connected to a projector in no time.
For example, if your laptop has an HDMI port, you would need to use an HDMI cable to connect the two devices.
If your laptop has an HDMI port, you can easily connect it to a projector using an HDMI cable, allowing you to display presentations, videos, and more on a larger screen.
Power on the projector

Powering on the projector is an important step in connecting your laptop to the projector. It is necessary to turn on the projector before you can start displaying information from your laptop. To power on your projector, start by plugging in the power cord and then press the power button. Make sure that the projector is in the correct input mode for connecting to your laptop, as this will determine which port you will need to use. Once you have the projector powered on, you can connect your laptop to the projector using the appropriate cable. Connecting your laptop to a projector is a simple process and with the right steps, you can have it up and running in no time.
Press the power button on the projector and allow the device to turn on and stabilize.
After turning on the power button, let the projector stabilize before attempting to make a connection with the laptop. Taking the time to properly set up the projector before connecting it to the laptop can help ensure a successful connection.
Select the correct input source
Selecting the correct input source is an important step when connecting your laptop to a projector. To ensure that the signal from your laptop is correctly received by the projector, you should check the input source settings on both devices. For example, if you are using a VGA connection, your laptop must be set to output a VGA signal and the projector must be set to receive a VGA signal. Similarly, if you are using an HDMI connection, both devices must be set to the corresponding input source. By double-checking the input source settings, you can ensure a successful connection between your laptop and projector.
Depending on the type of projector you are using, you may need to press a button on the projector to select the correct input source.
If you’re connecting a laptop to a projector, it’s important to make sure you select the correct input source on the projector. Depending on the type of projector you’re using, you may need to press a button to select the right source for the laptop. This simple step can help ensure a successful connection and the best viewing experience.
Activate the laptop’s video output
To connect your laptop to a projector, the first step is to activate the laptop’s video output. To do so, you must enable the laptop’s external video connection, which is typically done by pressing a “Function” or “Fn” key located on the laptop’s keyboard. This key will enable the external video port, allowing you to connect the laptop to the projector. With the laptop’s external video connection enabled, you are now ready to connect the laptop to the projector.
On some laptops, you may need to press a key combination (such as FN + F5) to enable the video output
Ensuring that your laptop is properly connected to a projector is essential for a successful presentation. To ensure that the video output is enabled, some laptops require a key combination such as FN + F5 to be pressed. Taking the time to properly connect the laptop to the projector will help to ensure that your presentation is successful.
Make sure the laptop is displaying the desktop on its own screen before continuing.
Connecting your laptop to a projector can be a simple process, but it’s important to make sure your laptop is displaying the desktop on its own screen before continuing. For those who are new to connecting a laptop to a projector, it’s crucial to follow the steps carefully in order to ensure a successful connection.
Adjust the aspect ratio
To get the best picture quality when connecting your laptop to a projector, it’s important to adjust the aspect ratio. To do this, open the display settings on your laptop and select a resolution that matches the aspect ratio of your projector. This will ensure that the picture is displayed properly. If you’re not sure which resolution is best, consult the manual for your projector or contact the manufacturer for assistance. Optimized sentence: Get the best picture quality for your laptop-to-projector connection with the right aspect ratio adjustment.
Use the projector’s on-screen menus to adjust the aspect ratio so that the image is displayed correctly on the projector.
Using the projector’s on-screen menus, adjusting the aspect ratio of the image is an important step to ensure it is displayed correctly on the projector when connecting a laptop.
Adjust the projector
When connecting a laptop to a projector, it is important to adjust the projector so that the image is correctly aligned with the laptop. To ensure the best quality image, use the projector’s keystone correction, aspect ratio, and zoom settings to adjust the picture size and shape. Additionally, use the projector’s brightness and contrast settings to create the best picture possible. By using these tools, you can ensure that your presentation is properly displayed on the projection screen.

GIPHY App Key not set. Please check settings