

Are you looking for an easy and straightforward way to convert photos from your iPhone to JPG format? Whether you want to share your photos online or use them for a specific project, converting them to the popular JPG format is essential. In this article, we will show you how to quickly and easily convert your iPhone photos to JPG in just a few simple steps. Read on to learn more about the simple and quick way to convert your photos for any purpose!
Open the Photos app on your iPhone
Using the pre-installed Photos app on your iPhone, you can easily convert your photos into the ubiquitous JPG file format, giving you the flexibility to use them anywhere.
This article explains how to easily convert your iPhone photos to JPG format, and provides helpful tips and tricks to ensure a successful conversion. It also covers the benefits of converting to JPG, and how to use the format to your advantage. Read on to learn more about converting iPhone photos to JPG, and create stunning images!
Select the photo or photos you want to convert to JPG
In order to convert your iPhone photos to JPG, you need to first select the photos you wish to convert. This can be done by opening the photos you wish to convert in the Photos app on your iPhone. From there, you can choose which photos you want to convert by tapping the checkmark in the upper-right corner of each photo. Once you have selected the photos you wish to convert to JPG, you can begin the conversion process.
This article provides an easy step-by-step guide to help you convert iPhone photos to JPG format quickly and efficiently. It covers methods to use the Photos app, as well as third-party apps, to make the conversion process simple and hassle-free. Additionally, tips and tricks are provided to help you get the most out of the conversion process. Learn how to quickly and easily convert iPhone photos to JPG format with this comprehensive guide!
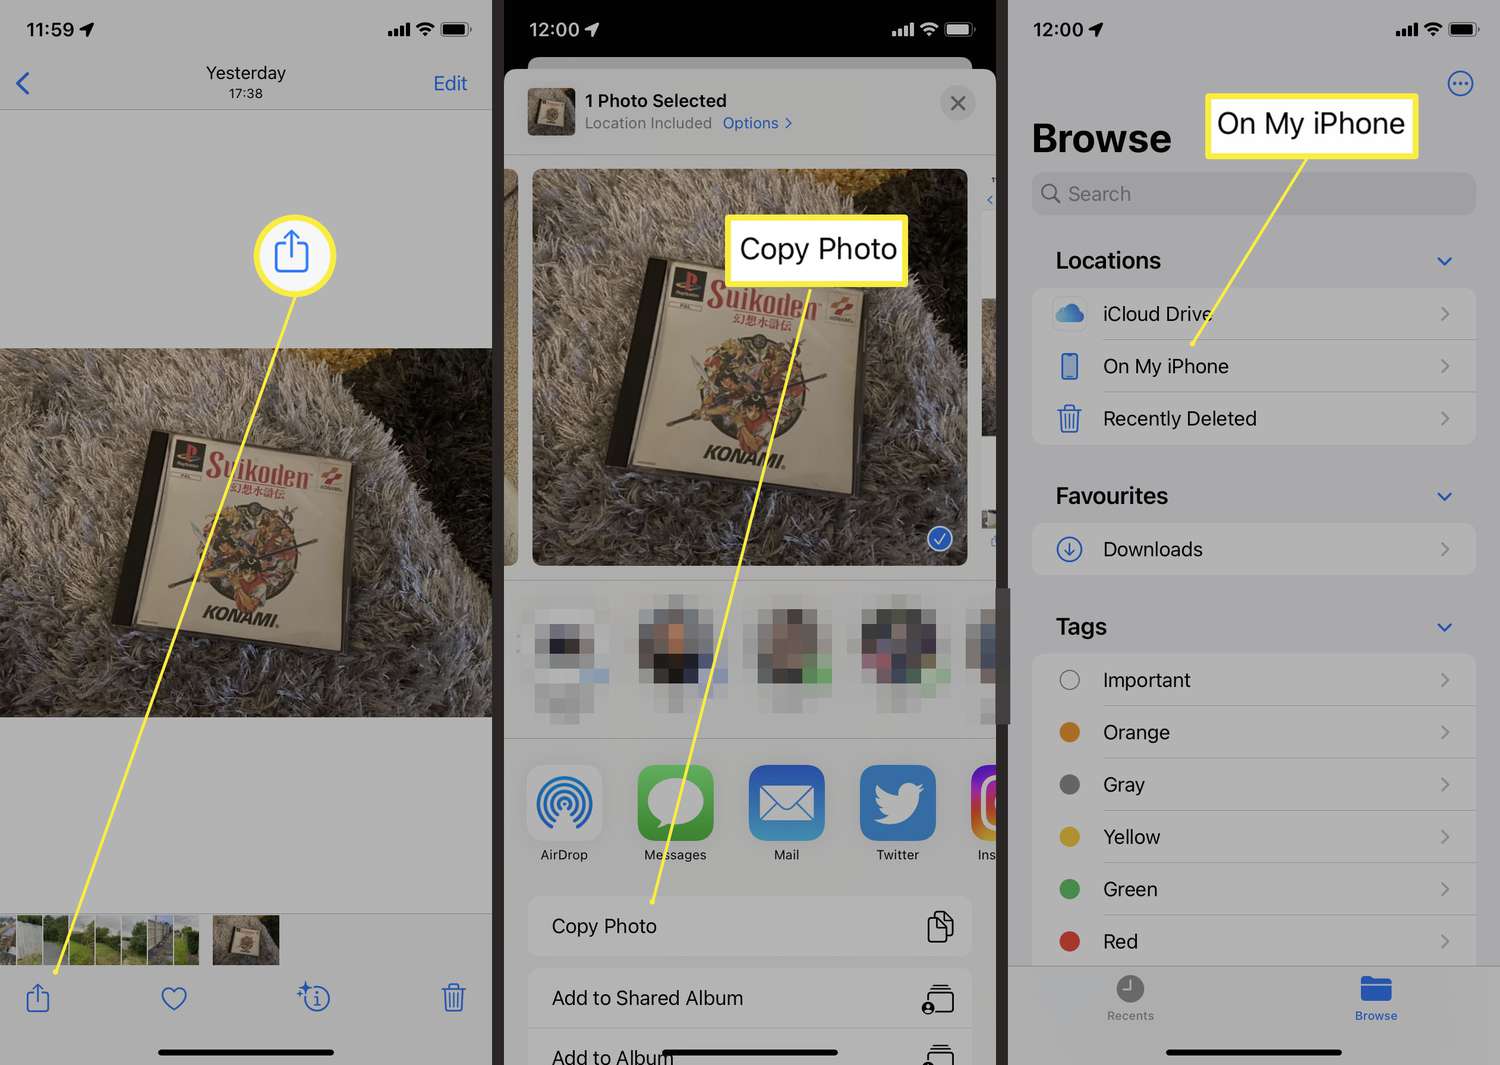
Tap on the “Share” button located at the bottom left of the screen

Tap on the “Share” button located at the bottom left of the screen to open up the sharing options, and select the “Save Image” or “Save to Files” option to quickly and easily convert your iPhone photos to JPG format.
Are you looking for an easy way to convert your iPhone photos to JPG? This guide provides step-by-step instructions on how to quickly and efficiently convert iPhone photos to JPG file format, making it easier to share your photos with family and friends.
Select “Save to Files” from the list of options

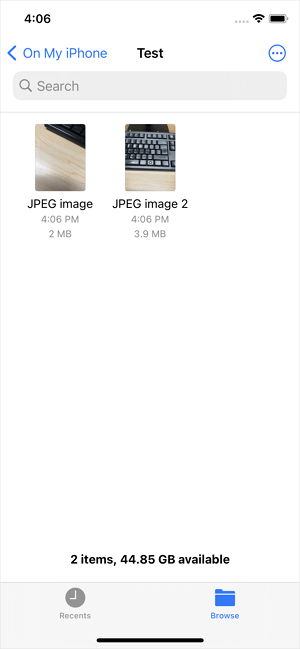
Once you select the “Save to Files” option, you can easily save your iPhone photos as a JPG file and access them anywhere. The simple process of converting your photos to a JPG file format ensures your images are of the highest quality and can be accessed easily.
Using a third-party app to convert your iPhone photos to JPG can be a simple and effective way to ensure your photos are in the right format for sharing and archiving. This article will explain how to convert iPhone photos to JPG with ease, as well as provide helpful tips and tricks to ensure the process goes as smoothly as possible. With the right tools, you can quickly and easily convert your iPhone photos to JPG format and get the most out of your images.
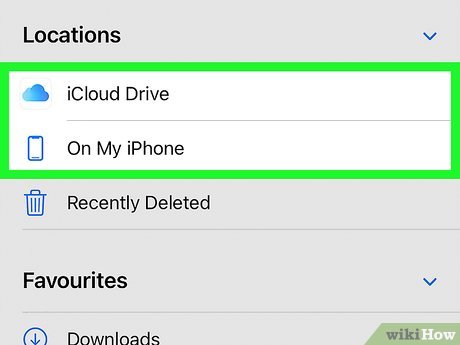
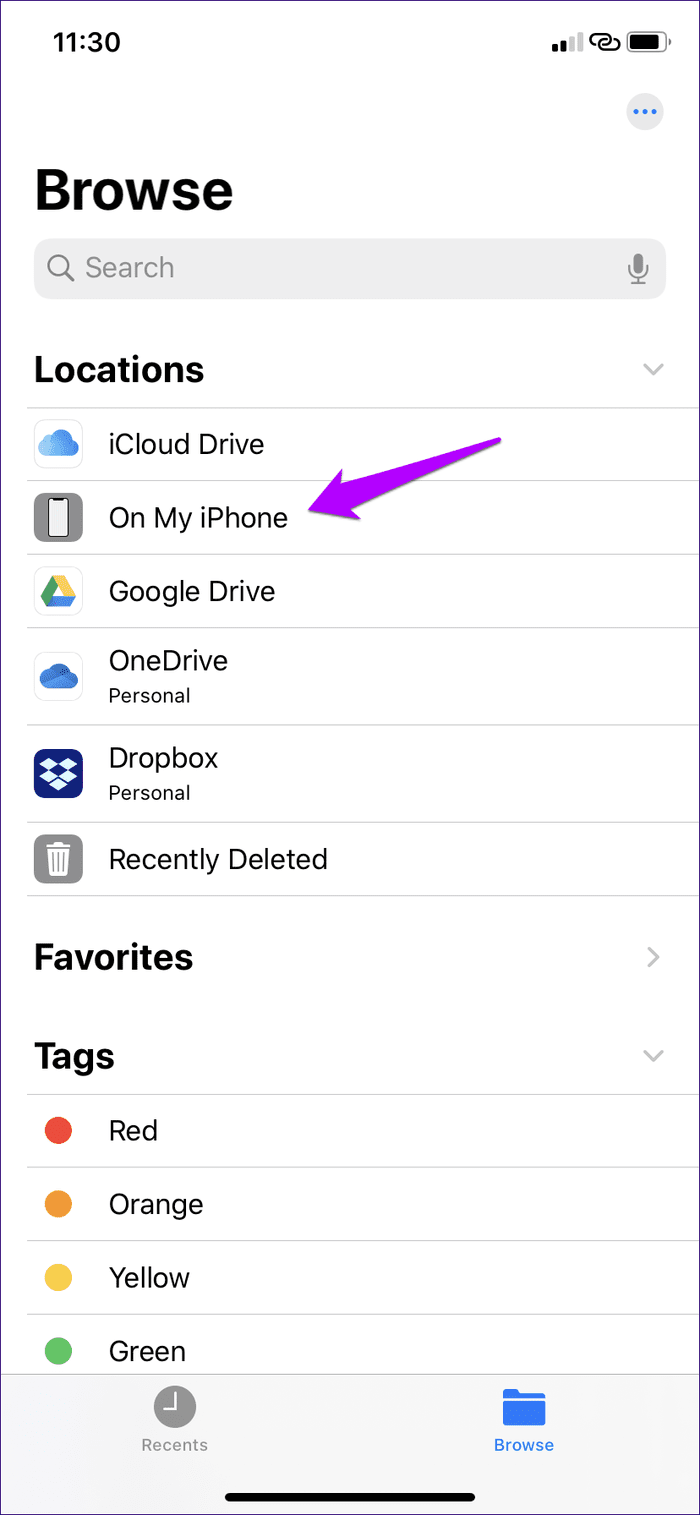
Select “On My iPhone” or “iCloud”, depending on where you want to save the files
Saving your iPhone photos as JPG files is easy and can be done straight from your phone! Whether you want to save the files on your iPhone or in the iCloud, you can quickly convert the photos to JPG and start using them in projects or sharing them with friends and family.
One of the most efficient and simple ways to convert iPhone photos to JPG is by using an online photo converter. Online photo converters are easy to use and provide a quick and efficient way to convert photos into the desired file type. Additionally, online converters often provide a wide variety of other features, such as resizing, rotating, and cropping photos, which are useful for optimizing photos for online use.
Tap “Export” and select “JPG” as the file type
Once you have selected the photos you want to convert, you can easily export them as JPG files to share with friends and family. Simply tap “Export” and select “JPG” as the file type to quickly and easily convert your iPhone photos to JPG format.

Converting iPhone photos to JPG is a quick and easy process that anyone can do. This blog post will show you step-by-step how to transfer your iPhone photos to JPG format, as well as provide tips and tricks for getting the best quality images out of your device. We’ll also discuss the benefits of converting your photos to JPG, such as improved storage, faster transfer speeds, and greater flexibility when sharing or editing your images. With this comprehensive guide, you’ll be able to confidently convert your photos to JPG in no time.
Tap “Save” and the JPG file will be saved in the selected location.

Once you have selected the file format and location, simply tap the “Save” button to quickly and easily convert your iPhone photos to JPG format, ensuring the images are stored in the designated location.

GIPHY App Key not set. Please check settings