

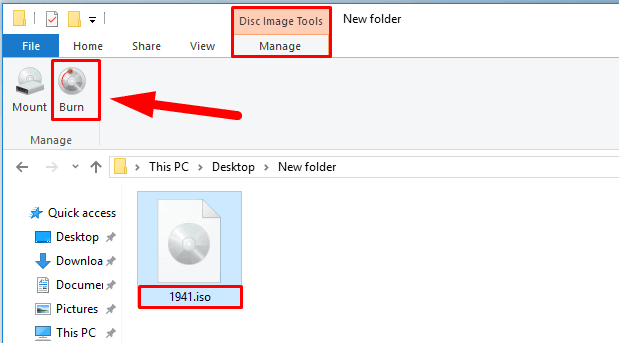
Are you wondering how to mount an ISO image? You can easily mount ISO images on your computer and access the files stored within them. With some simple steps, you can learn how to mount an ISO image and benefit from the convenience of ISO files. In this article, we will discuss the benefits of mounting ISO images, explain the process of mounting an ISO image, and provide helpful tips for getting the most out of ISO images.
Download the ISO Image: The first step in mounting an ISO image is to download the ISO image file

When mounting an ISO image, the first step is to download the ISO image file. Downloading the ISO image is an important part of the process, as it will provide access to the files and data contained within the image. Make sure to download the correct version of the ISO image that is compatible with your system before beginning the mounting process.
This file can be located online or on a storage device.
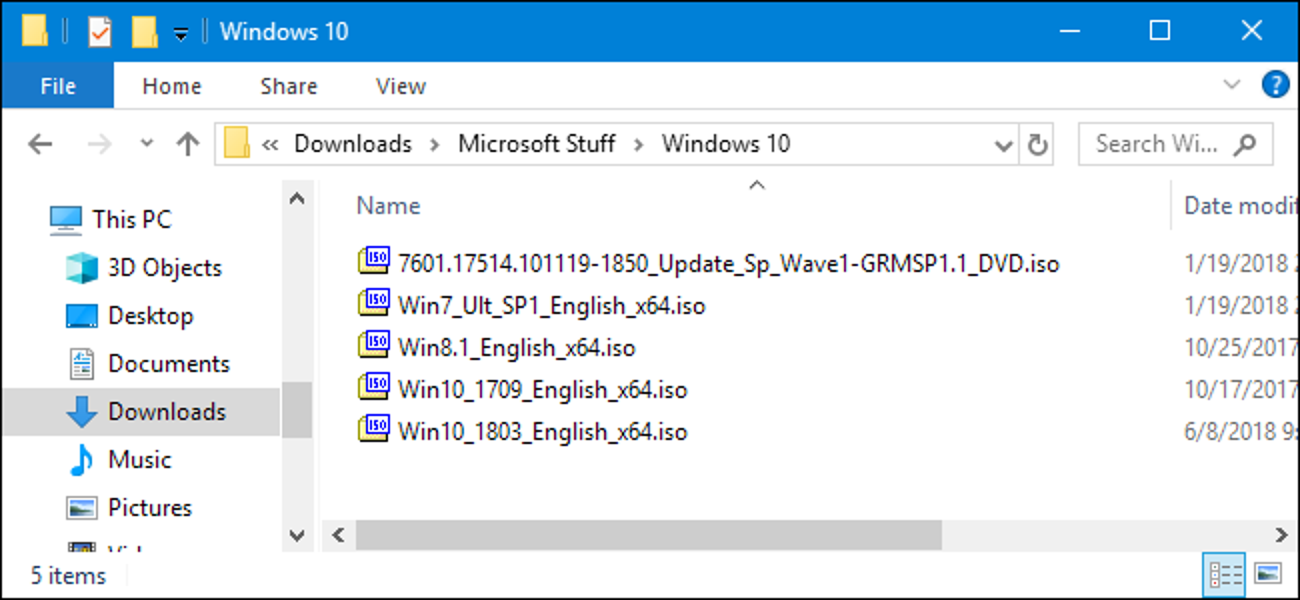
If you’re looking for an ISO image, it’s important to know where to find it. Whether it’s online or on a storage device, you’ll have plenty of options for finding the file you need for mounting.
Install Virtual Drive Software: The next step is to install virtual drive software onto your computer
Installing virtual drive software is an important step in the process of mounting an ISO image, as it will allow you to access the image as if it were a physical disc. Virtual drive software is easy to install and can be found for free online, making it a great option for mounting ISO images.
Virtual drive software allows you to mount ISO images
Using virtual drive software is a convenient way to mount ISO images without having to burn them to a physical disc. This eliminates the need for additional hardware and provides an easy, cost-effective solution for accessing content stored in ISO format.
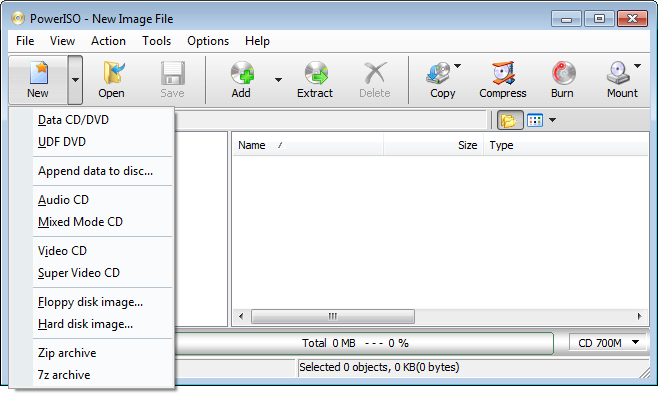
Popular options include PowerISO, Daemon Tools, and WinCDEmu.
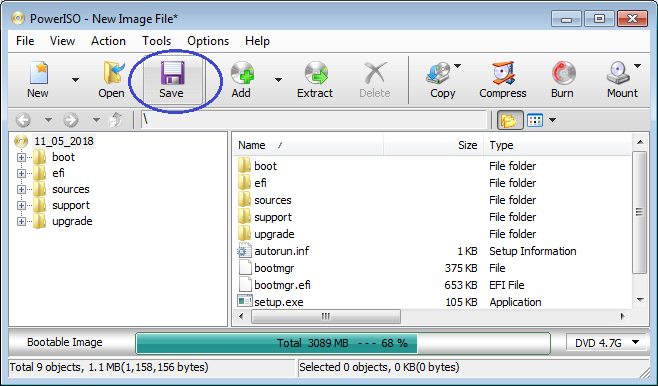
Popular programs for mounting ISO images include PowerISO, Daemon Tools, and WinCDEmu – each offering their own unique set of features to help you quickly and easily mount and access your ISO files.
Open the Virtual Drive Software: After the software has been installed, open the Virtual Drive software.

Open the installed Virtual Drive software to create a virtual drive, allowing you to access and mount an ISO image file on your computer in a secure and easy way.
Select the ISO Image: Once the Virtual Drive software is open, locate the ISO image file and select it.
Selecting the ISO image for mounting is the first step in the process. To begin, open the Virtual Drive software and locate the ISO image file that you wish to mount. Once you have identified the file, click on it to select it and proceed with the mounting process.
Choose a Drive Letter: The next step is to choose a drive letter for the ISO image
![]()
When selecting a drive letter for your ISO image, it is important to consider the order of your existing letters. If the drive letter you select is already in use, you may need to reassign a drive letter to a different drive or device. To avoid confusion, it is recommended to select a drive letter that is not currently in use.
This will be the letter that will be used to access the image.
Mounting an ISO image is an easy process that requires the correct letter to access the image. With the correct letter, users can quickly and efficiently mount the ISO image and begin to use the contents with ease.
Mount the ISO Image: Once you have chosen a drive letter, click the “Mount” button to mount the ISO image.

.Mounting an ISO image is a straightforward process that only requires a few clicks to complete. Once you have chosen a drive letter, simply click the “Mount” button to mount the ISO image and access its contents. This process ensures that your data remains secure and easily accessible.
Access the ISO Image: The final step is to access the ISO image

Now that you have your ISO image mounted, the next step is to access the file. With the help of an ISO mounting tool, you can easily open and browse through the contents of the image, without needing to extract the file or create a physical disc. This makes it easy to access and view the information in the image, without any extra effort or time spent.
You will be able to access the image using the assigned drive letter.
Mounting an ISO image is a great way to access the contents of the image without having to burn it to a CD or DVD. Once you assign a drive letter to the image, you will be able to browse and open the content of the image using the assigned drive letter.


GIPHY App Key not set. Please check settings