

Are you looking for a way to mount an ISO image on your Windows PC? Look no further! In this article, we’ll provide step-by-step instructions on how to mount an ISO image on your computer and get the most out of your ISO files. With our comprehensive guide, you’ll be able to quickly and easily mount an ISO image and start enjoying your files. So don’t waste any more time – let’s get started and learn how to mount an ISO image today!
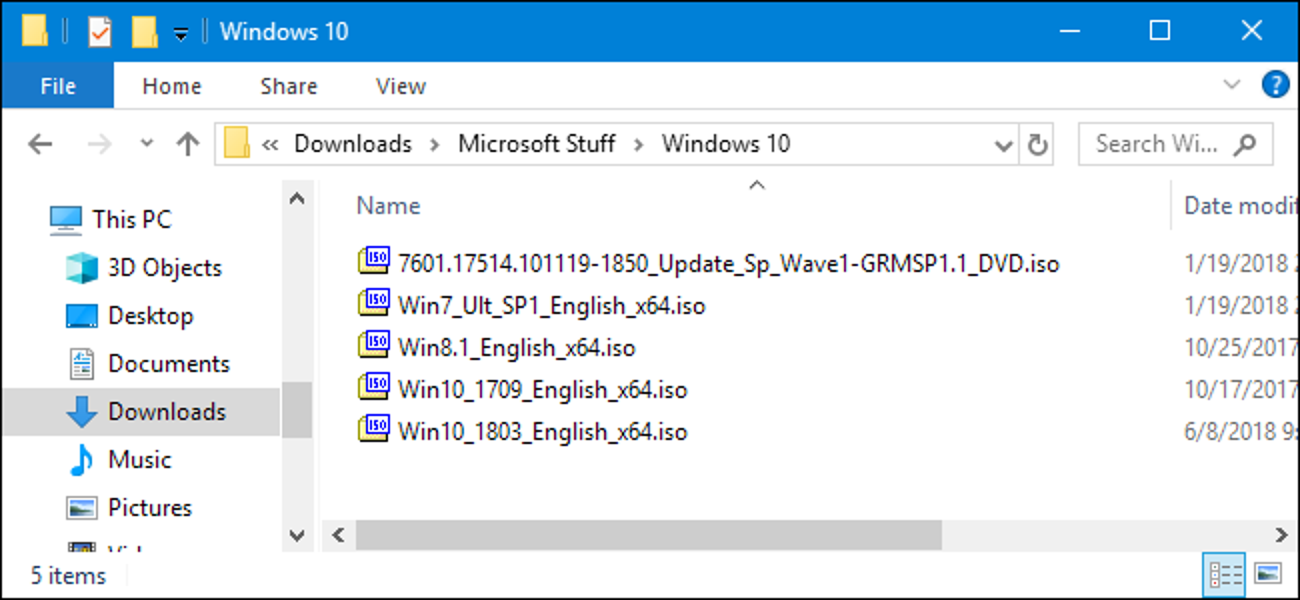
Download the ISO Image: The first step in mounting an ISO image is to download the ISO image file that you need

Once you’ve identified the ISO image you need, you’ll need to download it to your computer or device. You can find ISO image files online, or you can create them from physical media such as DVDs and CDs. Before downloading, make sure the ISO image is from a reliable source and is virus-free. After downloading, you can begin the process of mounting the ISO image.
You can find ISO images online or purchase them from a store
You can easily find ISO images online or purchase them from a physical store, allowing you to conveniently mount them onto your computer and access their contents.
Installing an ISO image can be a daunting task for those unfamiliar with the process, but with the right information and tools, it can be done quickly and easily. This guide will provide detailed instructions for how to mount an ISO image, as well as how to use the image for various purposes, such as burning to a disc or extracting files. Follow these steps to learn how to mount an ISO image and make the most of your file.
Install Virtual Drive Software: To mount an ISO image, you need to install virtual drive software
Once you have an ISO image file, you need to install virtual drive software in order to mount it and make it accessible. Virtual drive software will create a virtual CD/DVD-ROM drive on your computer, allowing you to open and access the contents of the ISO image file without having to burn it to a physical disc.
This software will create a virtual drive on your computer, which will allow you to mount the ISO image
Mounting an ISO image is an easy process with the right software. By creating a virtual drive on your computer, you can easily mount an ISO image and access the contents stored within. This makes it easy to access the data and applications stored on the image, allowing you to work with the contents quickly and conveniently.
Learn how to mount an ISO image quickly and easily with this comprehensive guide! This tutorial includes step-by-step instructions for mounting ISO images on Windows, Mac, and Linux systems, as well as tips for troubleshooting common issues. Whether you’re a novice or an experienced user, you’ll find everything you need to know here to securely mount an ISO image and get the most out of it.
Open the Virtual Drive: After the virtual drive software has been installed, open it, and then browse to the location of the ISO image file you have downloaded.
To begin the process of mounting an ISO image, open the virtual drive software of your choice and navigate to the location of the ISO file you have downloaded.
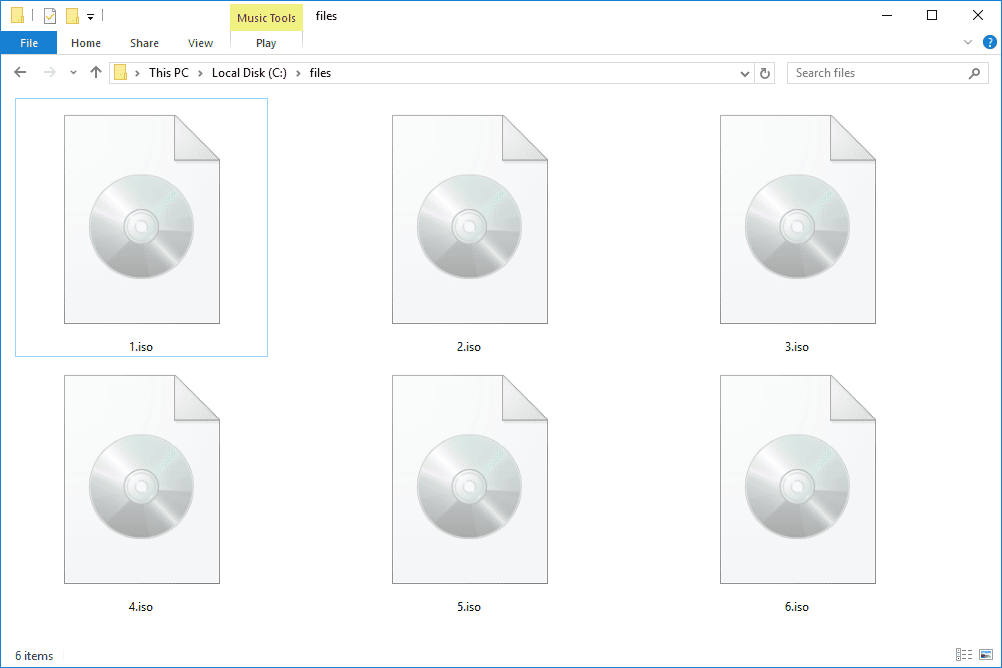
Mount the ISO Image: Once the ISO image file is located, simply click on it to mount the ISO image to the virtual drive
![]()
Mounting an ISO image is a simple process that can be completed in just a few steps. The first step is to locate the ISO image file and click on it to mount it to the virtual drive. Once the image is mounted, it can be used to run programs and access files just like any other disc. This makes it easy to install programs, access data, and more, without having to burn a physical disc.
Creating and mounting an ISO image is a great way to store and share files, and can be done quickly and easily with the right software. With the help of a reliable ISO mounting tool, users can mount ISO files for free and access them just as if they were regular files stored on their computer.
View the Contents of the ISO Image: When the ISO image has been successfully mounted, you will be able to view the contents of the ISO image, such as files and folders

Once an ISO image has been successfully mounted, users are able to view the contents of the ISO image, including files and folders, providing a convenient way to access the data stored in the image without having to extract it.
In this blog we will discuss how to mount an ISO image by walking you through the steps needed to open and view the files contained within the image. We will also discuss the best tools for mounting ISO images, the advantages and disadvantages of mounting an image, and how to troubleshoot potential issues. Finally, we will provide a comprehensive overview of mounting ISO images and the benefits it offers. Optimized Sentence: Learn how to mount an ISO image, the best tools to use, advantages and disadvantages, and how to troubleshoot potential issues in this comprehensive overview of mounting ISO images and the benefits it offers.
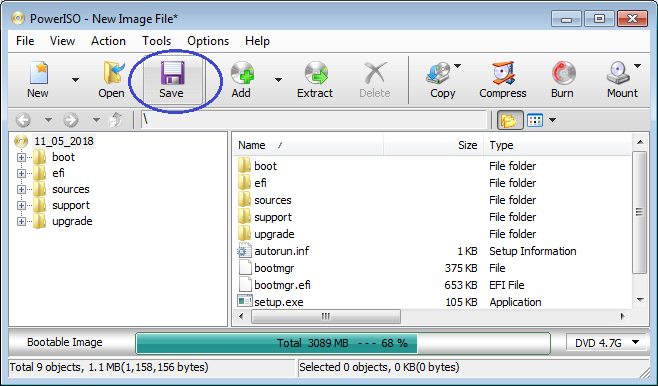
Extract the Contents: If you need to extract any of the files or folders from the ISO image, you can do this by right-clicking on the file or folder and selecting “Extract” from the menu
![]()
Extracting contents from an ISO image is easy. Simply right-click on the file or folder you want to extract and select “Extract” from the menu. This will extract the file or folder to the location you specify, giving you access to the contents stored inside the ISO image.
Mounting an ISO image is a great way to access the files on a CD or DVD without having to physically insert the disc into your computer. With the right tools, you can quickly and easily mount ISO files to access the contents inside. By following these simple steps, you can start working with your ISO files in no time.
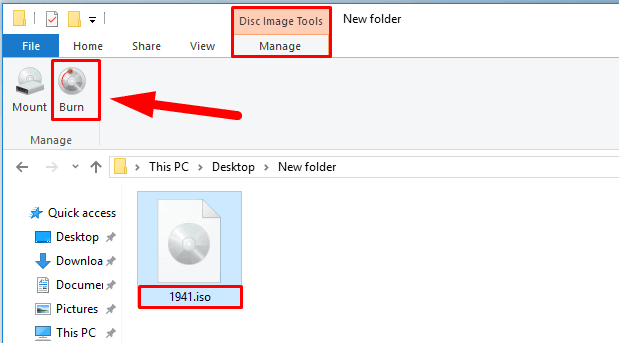
Unmount the ISO Image
![]()
When you are finished using the ISO image, it is important to unmount it properly to prevent any potential data loss. Unmounting the ISO image is a simple process that involves right-clicking on the drive icon in the file explorer and selecting the “Eject” or “Unmount” option. When the ISO image has been unmounted successfully, the drive icon will no longer be visible in the file explorer. Learning how to properly unmount an ISO image is an important part of maintaining a secure system.


GIPHY App Key not set. Please check settings