
Are you running into issues with Unity on your Windows computer? Uninstalling Unity can free up space on your computer, alleviate technical issues, and give you a fresh start. In this article, we’ll walk you through the step-by-step process of how to uninstall Unity on Windows in an efficient and effective way. Keep reading to learn more about uninstalling Unity on Windows and the benefits of doing so.
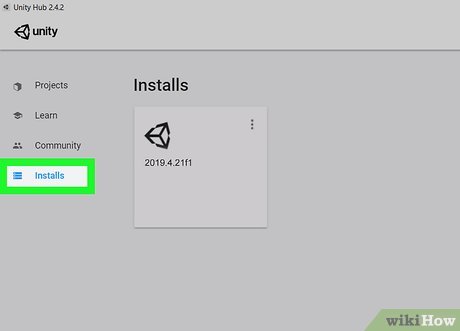
Close Unity: Before uninstalling Unity, make sure to close any open instances of the program to avoid errors and data loss.
.Be sure to close any open instances of Unity before uninstalling the program to prevent errors and the loss of important data.
Open the Programs and Features window: To uninstall Unity, open the Programs and Features window
To uninstall Unity, users can open the Programs and Features window to easily remove the software from their Windows device. This guide will provide step-by-step instructions on how to uninstall Unity from Windows.
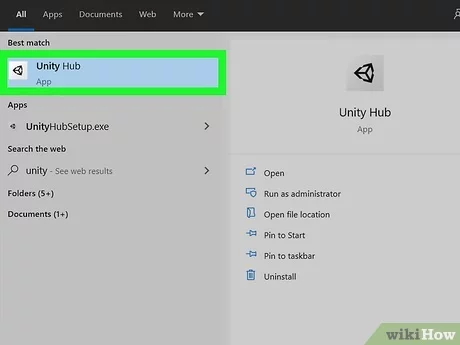
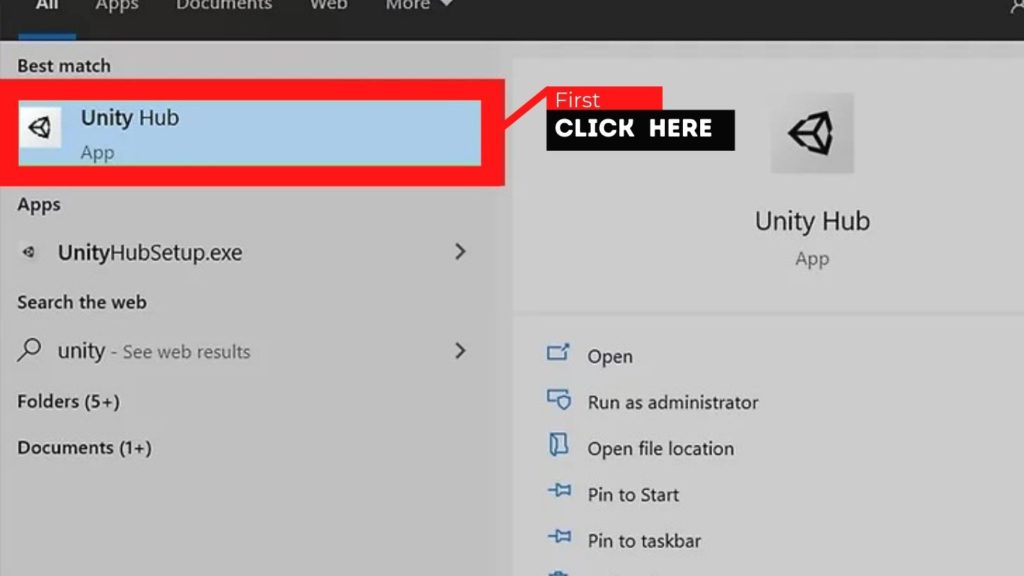
You can do this by opening the Start menu, typing “Programs and Features” into the search bar, and then selecting it from the list of results.
Uninstalling Unity from Windows is easy! Simply open the Start menu, type “Programs and Features” into the search bar and select it from the list of results to quickly remove Unity from your system.
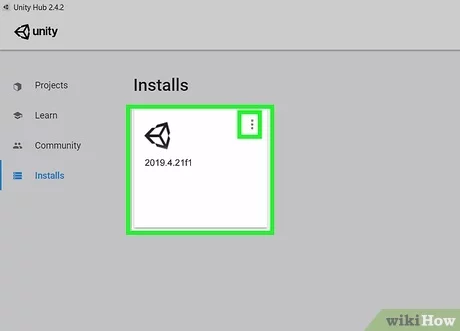
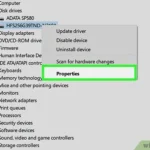
Select Unity: Once the Programs and Features window is open, find Unity in the list of installed programs.
If you’re looking to uninstall Unity on Windows, the first step is to open the Programs and Features window and search for Unity in the list of installed programs.
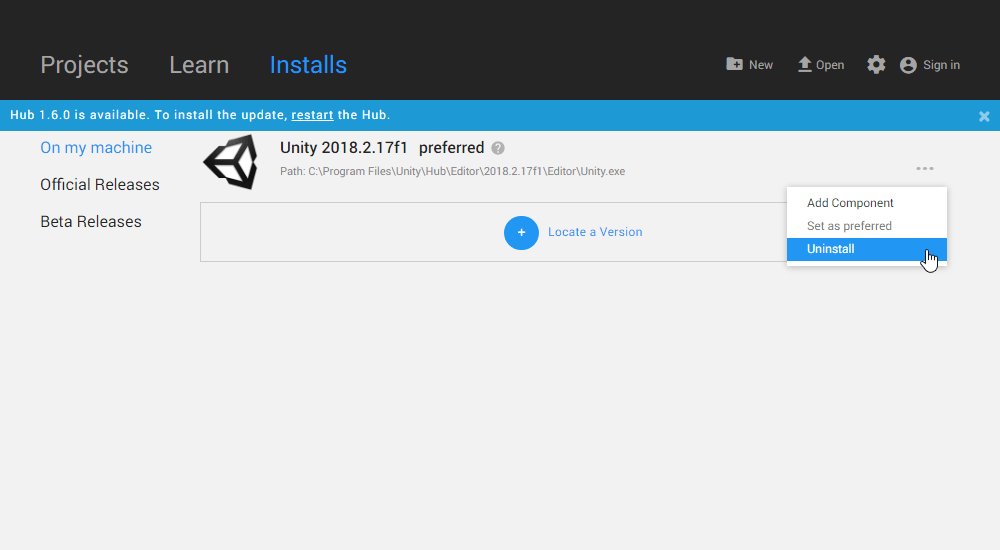
Click Uninstall: Select Unity, then click Uninstall.
If you want to uninstall Unity from your Windows computer, start by selecting the Unity program and then clicking the Uninstall button to complete the process.
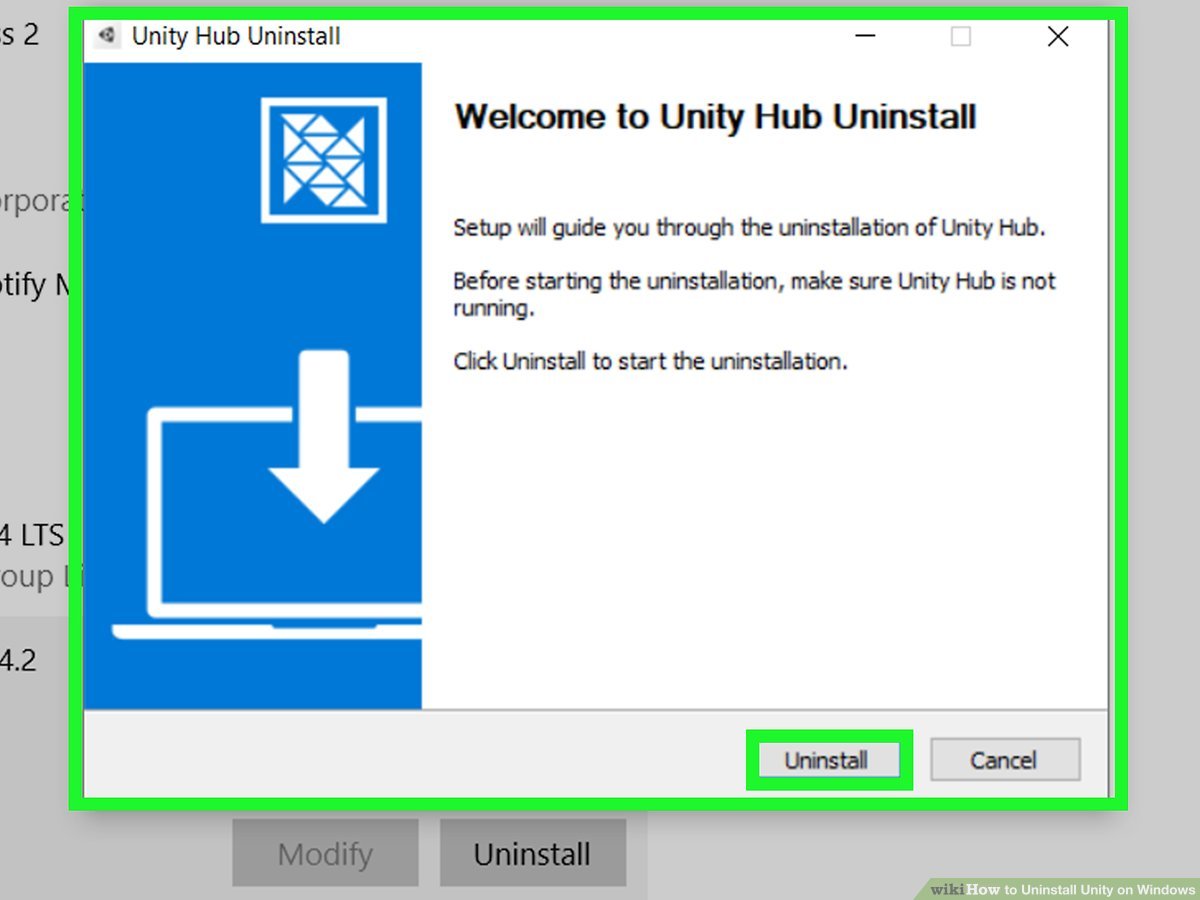
Confirm Uninstallation: The Windows uninstallation wizard will appear
Once the uninstallation is confirmed, the Windows Uninstallation Wizard will appear and guide you through the process of uninstalling Unity from your PC. This wizard will provide instructions on how to properly and safely remove Unity from your Windows device. Be sure to follow all instructions provided by the wizard to ensure that Unity is completely removed from your system.
Follow the instructions and click “Yes” to confirm the uninstallation.
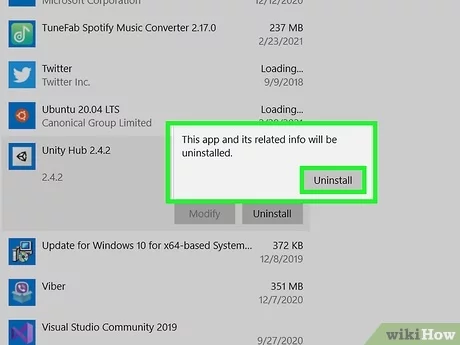
Confirm the uninstallation of Unity on Windows by following the simple instructions and clicking “Yes” to begin the process.
Restart your computer: Once the uninstallation is complete, restart your computer.
After uninstalling Unity, it is important to restart your computer to ensure that all of the changes are properly applied and that no remnants of the application remain on your system.
Delete remaining files: After restarting, check your computer for any remaining Unity files
To make sure you have completely uninstalled Unity from your Windows system, look for any remaining Unity related files on your computer after restarting. If you find any, delete them to ensure the software is completely removed.
If any remain, delete them manually.
To completely uninstall Unity from Windows, it is important to delete all the remaining files manually, to ensure no traces of the program remain on the computer.
GIPHY App Key not set. Please check settings