
Are you looking for a comprehensive guide on how to use a digital multimeter? This article will provide you with all the information you need to confidently and safely use a digital multimeter for a variety of tasks. You will learn about the different types of digital multimeters, how to set them up, and the common uses for a multimeter. With this guide, you will be able to understand the basics of digital multimeter usage and have the confidence to use one for your next project.
Gather Your Supplies: Before you can use a digital multimeter, you will need to make sure you have all the necessary supplies to do so, such as the multimeter itself and the necessary probes.
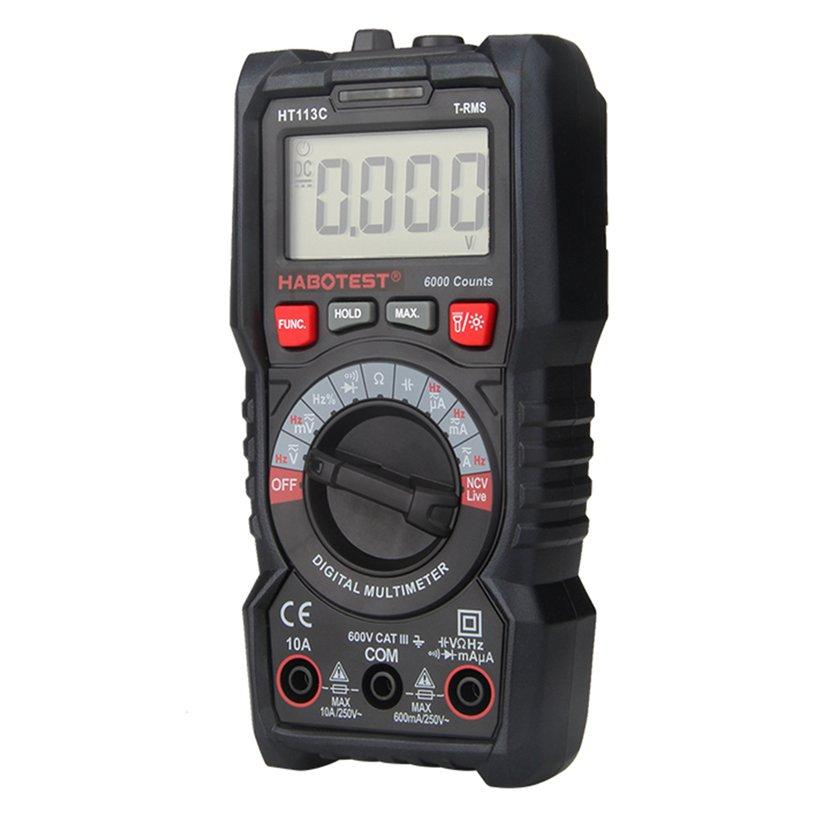
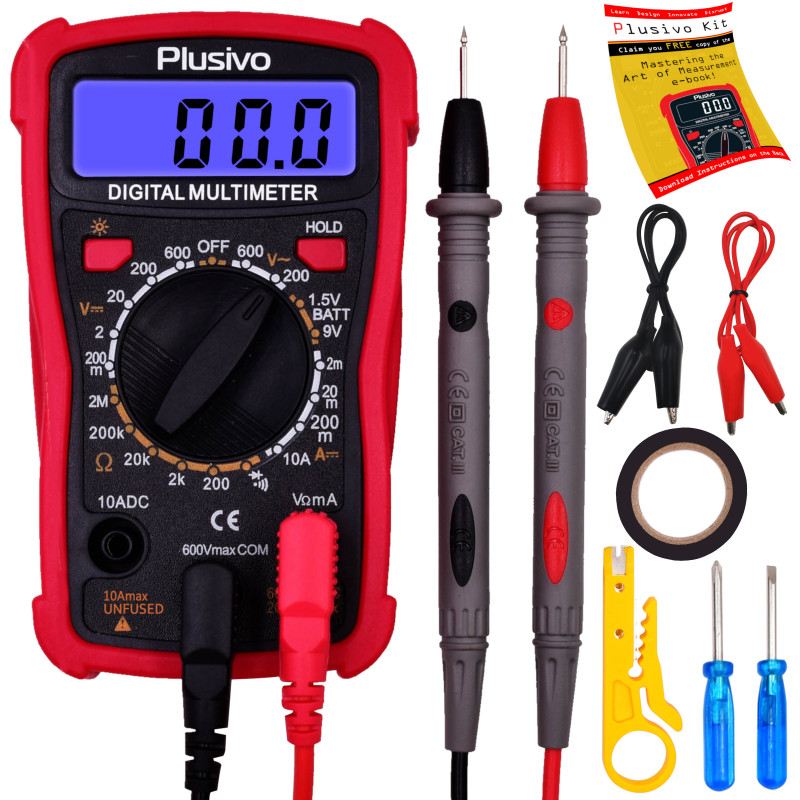
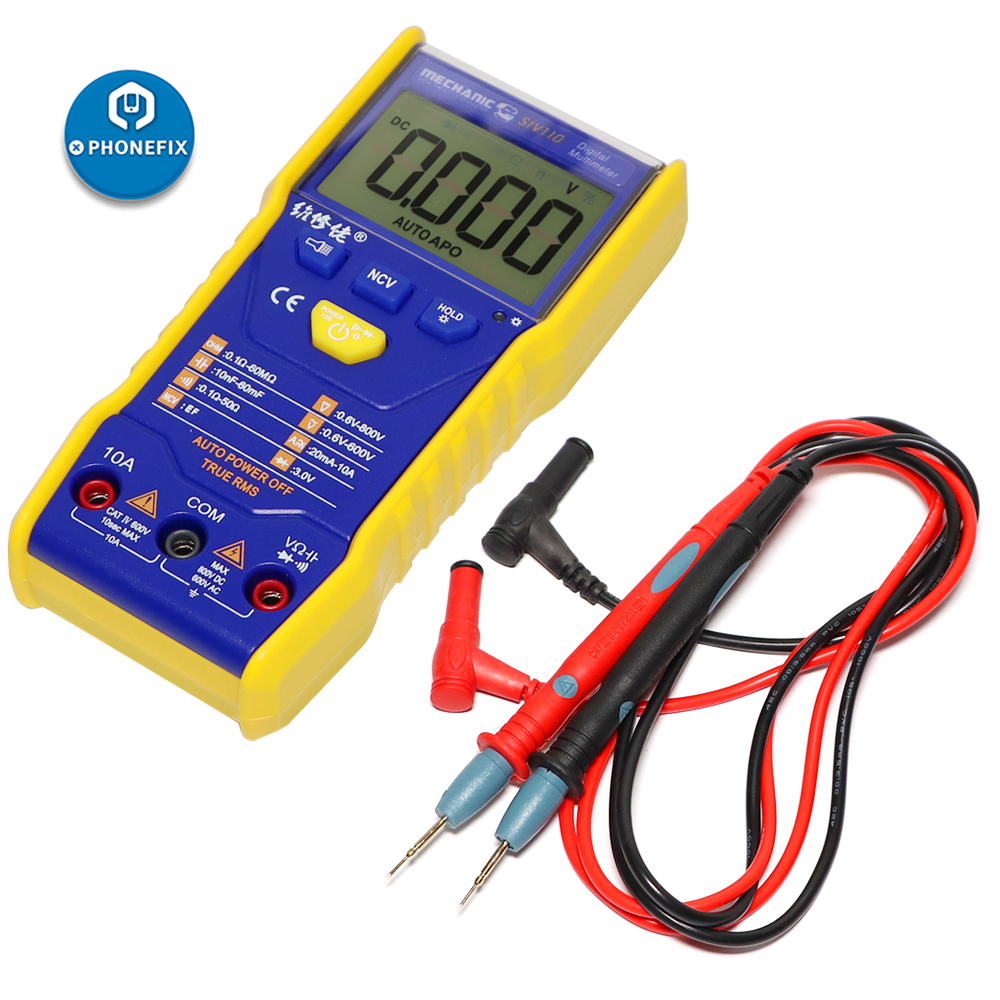
Gathering the right supplies is an essential first step when using a digital multimeter, so make sure you have the multimeter and probes needed before beginning your project.
Set the Meter: Once you have all your supplies, the first step is to set the multimeter
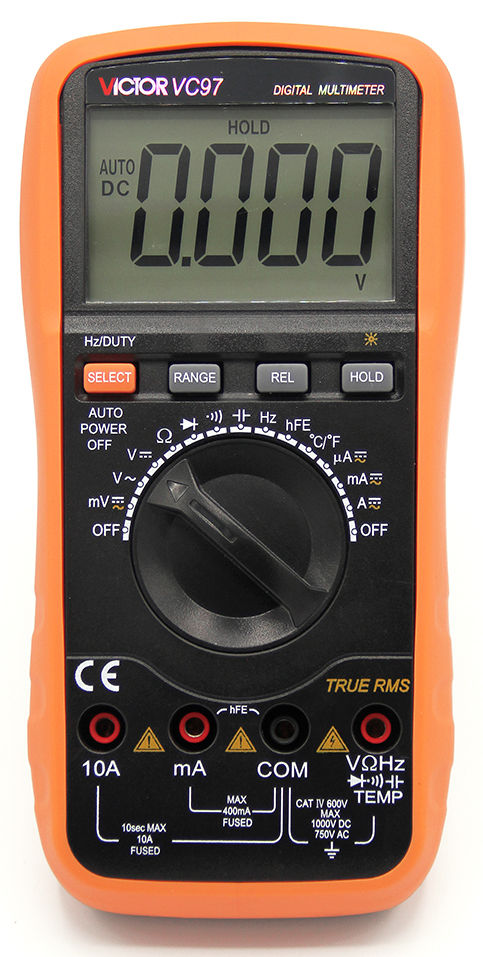
To begin using your digital multimeter, you’ll need to set it for the desired measurement. This typically involves selecting the type of measurement you need, the range, and setting any other applicable parameters. Knowing how to properly set your multimeter is essential for ensuring accurate readings and avoiding potential damage to the device.
Depending on the type of multimeter you are using, you may need to set the range and other settings for the meter.

When using a digital multimeter, it is important to familiarize yourself with the settings for the type of multimeter you are using. Setting the range, as well as other settings, correctly will help you get the most accurate readings from your device.
Select the Proper Measurement: Determine what type of measurement you need to take and select the appropriate mode on the multimeter.
When using a digital multimeter, it is important to select the proper measurement mode to ensure accurate readings. Choosing the right mode for the job is essential for getting the right measurement and avoiding mistakes.
Connect the Probes: Connect the probes to the appropriate terminals on the multimeter, making sure they are connected properly.
Connecting the probes to the terminals on your digital multimeter is an essential step for accurate readings; make sure to connect the probes correctly to get the most reliable results.
Take the Measurement: Once the probes are connected, you can then take the measurement.
Taking a measurement with a digital multimeter is an easy process. After connecting the probes and setting the multimeter to the desired measurement type, you can get an accurate reading with just the press of a button.
Read the Display: After the measurement is taken, you can then read the display to determine the results of the measurement.
Reading the display on a digital multimeter is the final step in taking an accurate measurement, and can provide you with valuable information about the measurement you took.
Disconnect and Store: Once you are done taking the measurement, make sure to disconnect the probes and store the multimeter properly.
After taking a measurement, be sure to disconnect the probes and store the digital multimeter in a safe place, as improper storage can lead to damage or malfunction.

GIPHY App Key not set. Please check settings