

Hey everyone, I’m an 18 year old student and I’m here to share my experience building my first dune buggy. After months of researching and planning, I finally finished my project and I’m excited to share the process with you! In this article, I’m going to show you step-by-step how to build a dune buggy, so if you’re interested in creating your own off-road vehicle, keep reading for all the details on how to get started.
Gather parts and tools
If you want to build a dune buggy, you’ll need to gather the right parts and tools. To get started, look for a Volkswagen Beetle chassis or a fiberglass body kit. You may also need a complete brake system, a steering wheel, and a suspension system. Additionally, you’ll need to stock up on basic tools like wrenches, screwdrivers, and a jack. Don’t forget to pick up safety gear like a helmet and gloves.
Assemble frame and axles

To build a dune buggy you’ll need to assemble the frame and axles. First, purchase the frame, axles, and other components. It’s important to get the right size and strength for your needs. Then, use a jig to assemble the frame and axles together. Make sure to use the right tools, like a drill and a torque wrench. Finally, mount the axles and check for proper alignment. With the right parts and know-how, you can build a dune buggy that’ll last for years.
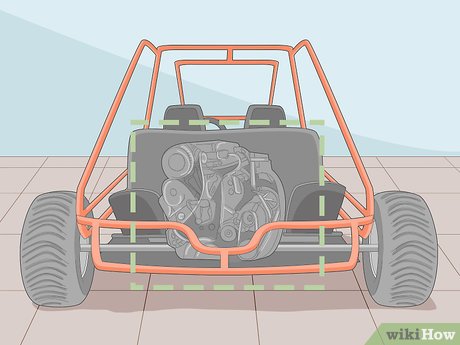
Install engine, brakes, and suspension

Installing the engine, brakes and suspension of a dune buggy is no easy feat. It requires patience, attention to detail and a bit of mechanical know-how. If you’re up for the challenge, start by following the step-by-step guide to properly install the engine, brakes and suspension. Make sure to double-check your work and take your time to ensure everything is installed correctly. With some elbow grease, you’ll be hitting the dunes in no time!
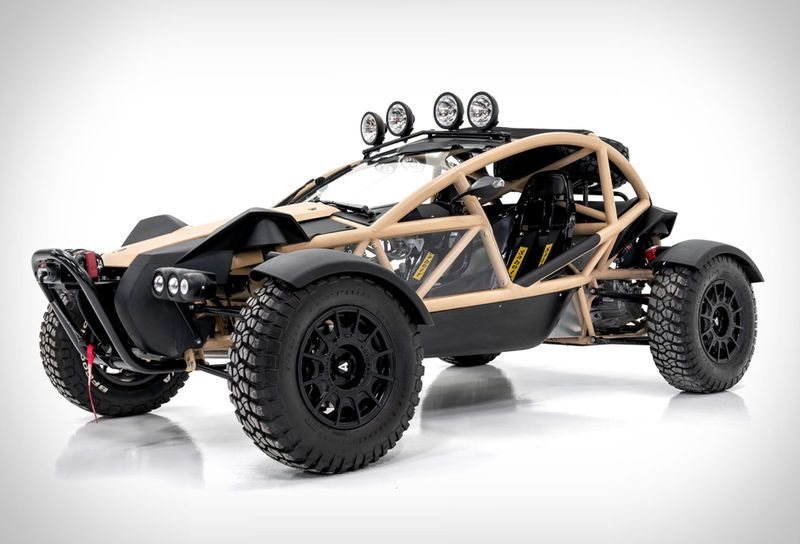
Mount body and accessories

Mounting the body and accessories on your dune buggy is the final step! It can be the most fun and rewarding step if done correctly. Make sure to measure twice and cut (or drill) once. Once the body is mounted, you can really start to see your dune buggy come together. Don’t forget to add any accessories like mirrors, windshields, and lights before you hit the dunes.
Test drive and adjust
Test driving your dune buggy is great way to make sure it’s running properly and to tweak any of the adjustments you’ve made. Make sure to check the brakes, steering, and suspension, and also make sure to test out the engine and power by taking it for a spin around the block. If anything needs adjusting, don’t hesitate to make the changes – it’s the only way to make sure your dune buggy is running smoothly and safely.
Enjoy the ride!

Once the dune buggy is built, the real fun begins! I can’t wait to experience the awesome feeling of driving off-road and racing over sand dunes. The adrenaline rush is unbeatable and the views you get are breathtaking. I’m excited to go on my first dune buggy adventure and explore the outdoors!


GIPHY App Key not set. Please check settings