
Hey everyone, if you’re looking for a fun, creative way to make a camcorder light for your next video project, then you’ve come to the right place! In this article, I’m going to show you how to build an LED camcorder light that you can take with you wherever you go. It’s a great way to make sure you’re always prepared for any video project, and with just a few easy steps, you’ll have your new light built in no time. So, let’s get started and build our own LED camcorder light!
Gather materials (LEDs, battery, resistors).

To build an LED camcorder light, you’ll need to gather materials like LEDs, a battery, and resistors. I got mine from my local hardware store, but you can also find what you need online. Make sure you double-check the specs of the parts you buy, so that the LEDs and the battery match up with the resistors you get. It’s a great DIY project and if you’re looking for a new hobby, this is a great place to start.
Connect LEDs in parallel.

Connecting LEDs in parallel is pretty simple, basically you just need to connect the negative side of one LED to the negative side of the other LED, and the same thing with the positive side. Make sure you’re using the same voltage for all LEDs, otherwise you could damage your camcorder light. It’s also important to make sure your power supply can handle the current your LEDs will draw.
Attach resistors to LED leads.

Attaching resistors to LED leads can seem daunting, but it’s really pretty easy. All you need is some basic electrical knowledge, soldering iron and safety glasses. First, identify which lead is positive and negative, then solder the resistor to the positive lead. Make sure you use the proper resistor value, as too much current can damage the LED. With a bit of practice, you’ll be able to attach resistors to LED leads like a pro!
Connect battery to LED/resistor circuit.

Connecting the battery to the LED/resistor circuit is a no-brainer. Just make sure to connect the positive side of the battery to the positive side of the resistor and the negative side of the battery to the negative side of the resistor. The LED will light up when you do this and you can adjust the brightness of the light using the resistor. Easy peasy!
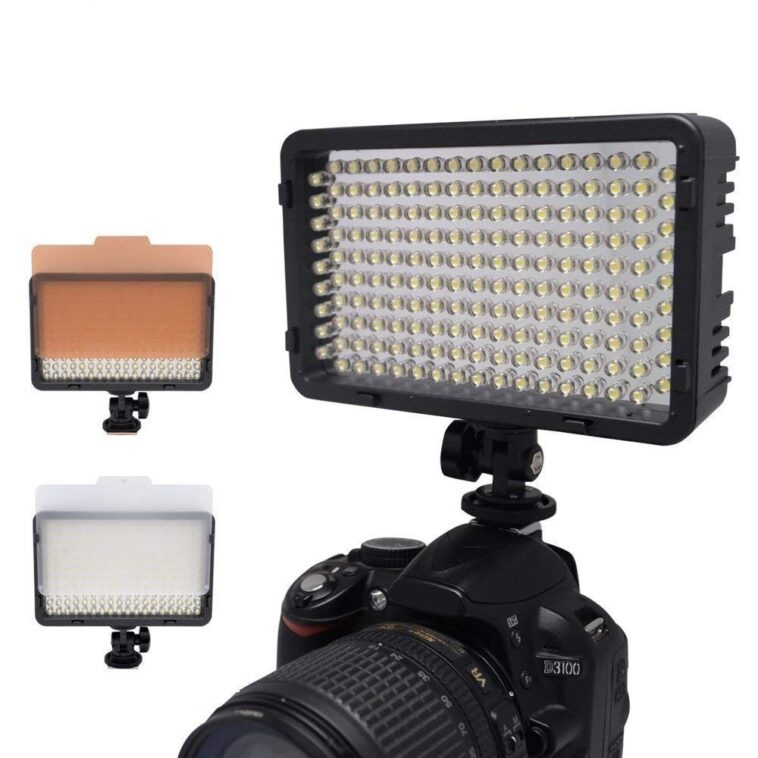
Attach circuit to camera.
Attaching the circuit to the camera is a super easy process! All you need to do is take the LED light circuit and carefully attach it to the camera’s hot shoe mount. Make sure to use a strong adhesive like double-sided tape or hot glue, so that the circuit is securely stuck to the mount. You can even use a zip tie for extra security. It’s a quick and easy task that any 18-year-old student can do!
Enjoy your light!

Once you’ve completed building your LED camcorder light, it’s time to enjoy it! This light will help you get creative with your camera, giving you the ability to take great shots no matter the time of day. From night time parties to those early morning sunrises, your camcorder light will help you capture those moments you never want to forget!
GIPHY App Key not set. Please check settings