

Are you looking for a way to access your favorite software anytime, anywhere? With a virtual PC on your USB device, you can have your favorite applications and files with you, no matter where you go. In this article, we’ll guide you through the process of creating a virtual PC on your USB device using Windows Virtual PC. Follow these simple steps to get started right away!
Gather the Necessary Materials – To set up a virtual PC on your USB device, you will need a USB flash drive, a virtual machine software, and a Windows installation disc.

Gather all the necessary materials you need to create a virtual PC on your USB device: a USB flash drive, virtual machine software, and a Windows installation disc. This will ensure you have all the components needed to build a virtual PC from the comfort of your own home!
Install the Virtual Machine Software – Install the virtual machine software onto your computer

Installing a virtual machine software on your computer is essential for creating a virtual PC on your USB device. Taking the time to properly download and install the virtual machine software will ensure that you have a secure and efficient virtual PC.
This software will allow you to create a virtual machine on your USB device.
Using specialized software, you can now create a virtual PC on any USB device, giving you the ability to run multiple operating systems on one device.
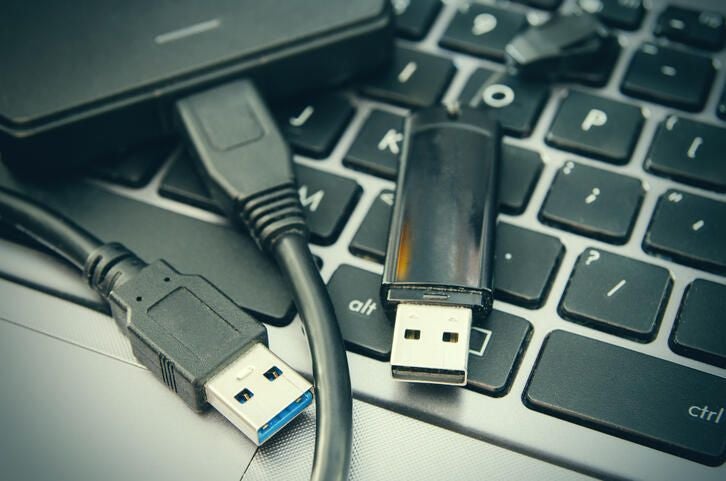
Insert the USB Drive – Insert the USB flash drive into your computer

Inserting a USB flash drive into your computer is a simple task that can enable you to create a Virtual PC right on your device. With the right tools, this process is straightforward and can help you benefit from the convenience of a Virtual PC right on your personal device.
This will be the storage device for your virtual PC.

Creating a virtual PC on your USB device is a great way to have a portable PC that you can take anywhere. To do this, you will need to find a USB device with enough storage space to hold the necessary files, which will serve as the storage device for your virtual PC.
Create a New Virtual Machine – Use the virtual machine software to create a new virtual machine on your USB device

Creating a new virtual machine on a USB device is easy when you have the right software. With a few simple steps, you can use virtual machine software to create a virtual PC on your USB device, allowing you to access your files from any computer.
Make sure to select the correct operating system for your virtual PC.

Creating a Virtual PC on your USB device is a great way to stay productive while on the go. It allows you to take your Windows or Mac operating system with you and have access to your files, applications, and settings no matter where you are. To get started, you must first select the operating system that is compatible with your USB device. Whether you choose Windows XP, Windows 7, Windows 10, or Mac OS X, it is important to download the correct version for your device.
Install Windows – Once you have created the virtual machine, you will need to install Windows onto it

Installing Windows onto a virtual machine on your USB device is a straightforward process that can be completed in a few easy steps. To begin, you’ll need to create a virtual machine on your USB device, then link the Windows installer and the virtual machine. Follow the instructions of the installer to install Windows on the virtual machine, and you’ll be able to use the virtual machine for all of your computing needs.
Insert the Windows installation disc and follow the on-screen instructions.

Insert your Windows installation CD into your USB device and follow the on-screen prompts to create a virtual PC on your USB drive.
Configure the Virtual Machine – Once Windows is installed, you will need to configure the virtual machine

Once Windows is installed on your USB device, you will need to configure the virtual machine to ensure your Virtual PC is fully functional. This includes setting up the operating system and applications, as well as updating drivers and software to ensure the best performance of your Virtual PC. Taking the time to properly configure your Virtual PC will ensure it runs smoothly and efficiently for all of your computing needs.
This includes setting up the various settings and preferences of the virtual PC.

Setting up a Virtual PC on a USB device requires careful configuration of the various settings and preferences to ensure that the system runs as smoothly as possible.
Test the Virtual PC – Once you have configured the virtual machine, you will need to test it

To ensure that your Virtual PC is running smoothly, it is important to test your configuration and make sure it is functioning properly. Testing your Virtual PC is essential to make sure it is optimized for performance and can handle the tasks you assign to it. With thorough testing, you can ensure that your Virtual PC is running as intended and can confidently use it for any computing needs.
Make sure that all of the settings are correct and that the virtual

In this article, we will provide step-by-step instructions on how to create a virtual PC on your USB device, ensuring that all settings are correctly configured for a seamless virtual experience. With our guide, you can make the most of your USB device and reap the benefits of a virtual PC.


GIPHY App Key not set. Please check settings